Building An Arduino-Powered Infinity Table
The Task
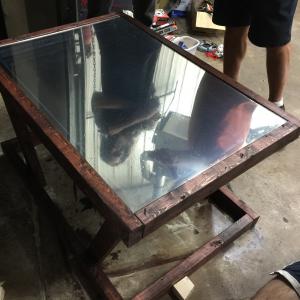
Matt Ibarra and I wanted a fun project. My girlfriend Amanda wanted a table. I wanted to program LEDs.Thus, we decided on an Infinity table. We accomplished this build in one night! The programming took another couple nights to iron out.
The Result
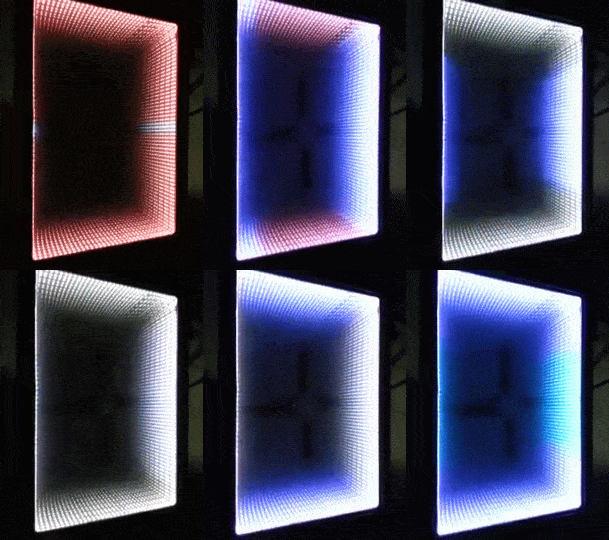
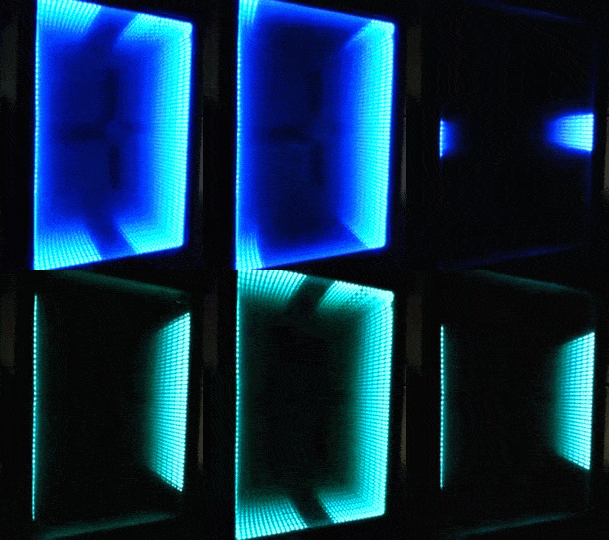
The Materials
- Arduino Uno Adafruit Neopixel 60 LED Strip (Black) - 4 Meters
- 36x24” Frameless Rectangular Mirror
- 30x36” Sheet of Plexiglass
- 2x3x8 Lumber x6
- Screws
- STRONG Double Sided Tape - Crucial for mounting LEDs inside the frame
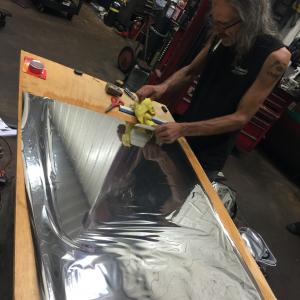
- 3 ft. x 15 ft. Mirror Privacy Window Film - You will need an extra sheet or two, because you will mess this up the first time.
The Build
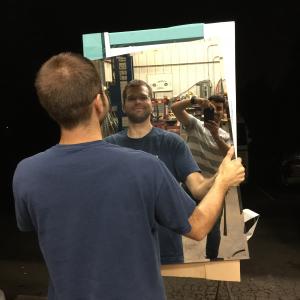
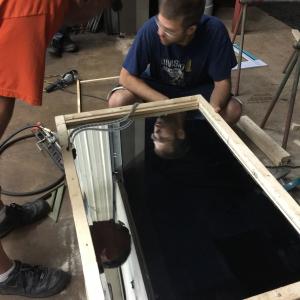
Matt and I got started by loading the Adafruit Neopixel Library + some test code onto our Arduino. We attached the Arduino to the LED strip and checked that everything worked.
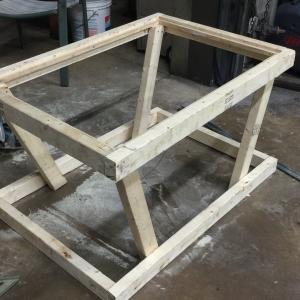
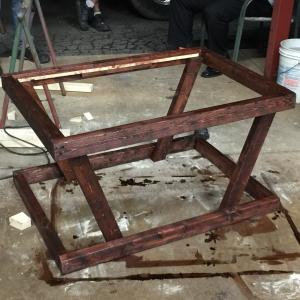
We headed to Home Depot to pick up materials. It took a couple trips to get everything just right (and our original table design mutated into a new beast).




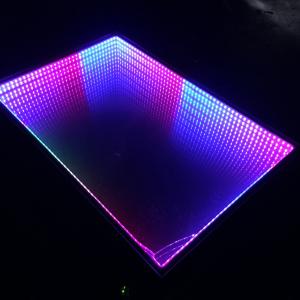
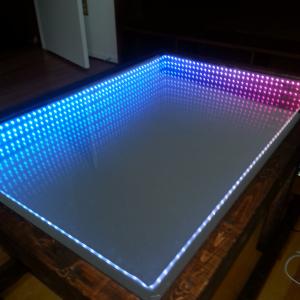
The code
Here’s a link to the code that I currently run on my table: Github
Here’s a sample Rainbow Chaser effect:
void setup() {
  strip.begin();
  strip.setBrightness(60);  // Lower brightness
  strip.show(); // Initialize all pixels to 'off'
}

void loop() {
  rainbowFull(15);
}

void offsetChaser(uint16_t i, uint16_t j, uint16_t offset) {
  uint16_t baseNum = i - offset;
  strip.setPixelColor(baseNum, Wheel(((i * 256 / strip.numPixels()) + j) & 255));    //fuckin' rainbows
  strip.setPixelColor(baseNum - 1, Wheel(((i * 256 / strip.numPixels()) + j) & 255));
  strip.setPixelColor(baseNum - 2, Wheel(((i * 256 / strip.numPixels()) + j) & 255));
  strip.setPixelColor(baseNum - 3, Wheel(((i * 256 / strip.numPixels()) + j) & 255));
}

void rainbowFull(uint8_t wait) {
  uint16_t i, j, c;

  for (j = 0; j < 256 * 5; j++) {

    for (i = 0; i < strip.numPixels() * 2; i++) {

      if (j % strip.numPixels() == i) {
        offsetChaser(i, j, 0);
        offsetChaser(i, j, 36);
        offsetChaser(i, j, 72);
        offsetChaser(i, j, 108);
        offsetChaser(i, j, 144);
        offsetChaser(i, j, 180);
        offsetChaser(i, j, 216);

      }
      else {
        //do nothing. this leaves the previous filled color
      }
    }
    strip.show();
    delay(wait);
  }
}
Here’s Matt’s version: Github
If you’re looking for fun programming challenges, why not tackle automatic fading in between RGB values? Amanda gave me ~50 RGb values that she wanted to slowly fade back and forth - quite a novel challenge to auto-interpolate brightness values. I learned a bit about pointers.
I also played around with the FastLED3.1 library, which is quite fun and rewarding to work with.
Many thanks to Mark Kriegsman for his work on the FastLED library.