Magnetized Seraphon Stegadon/Engine of the Gods Build
31 Jan 2019
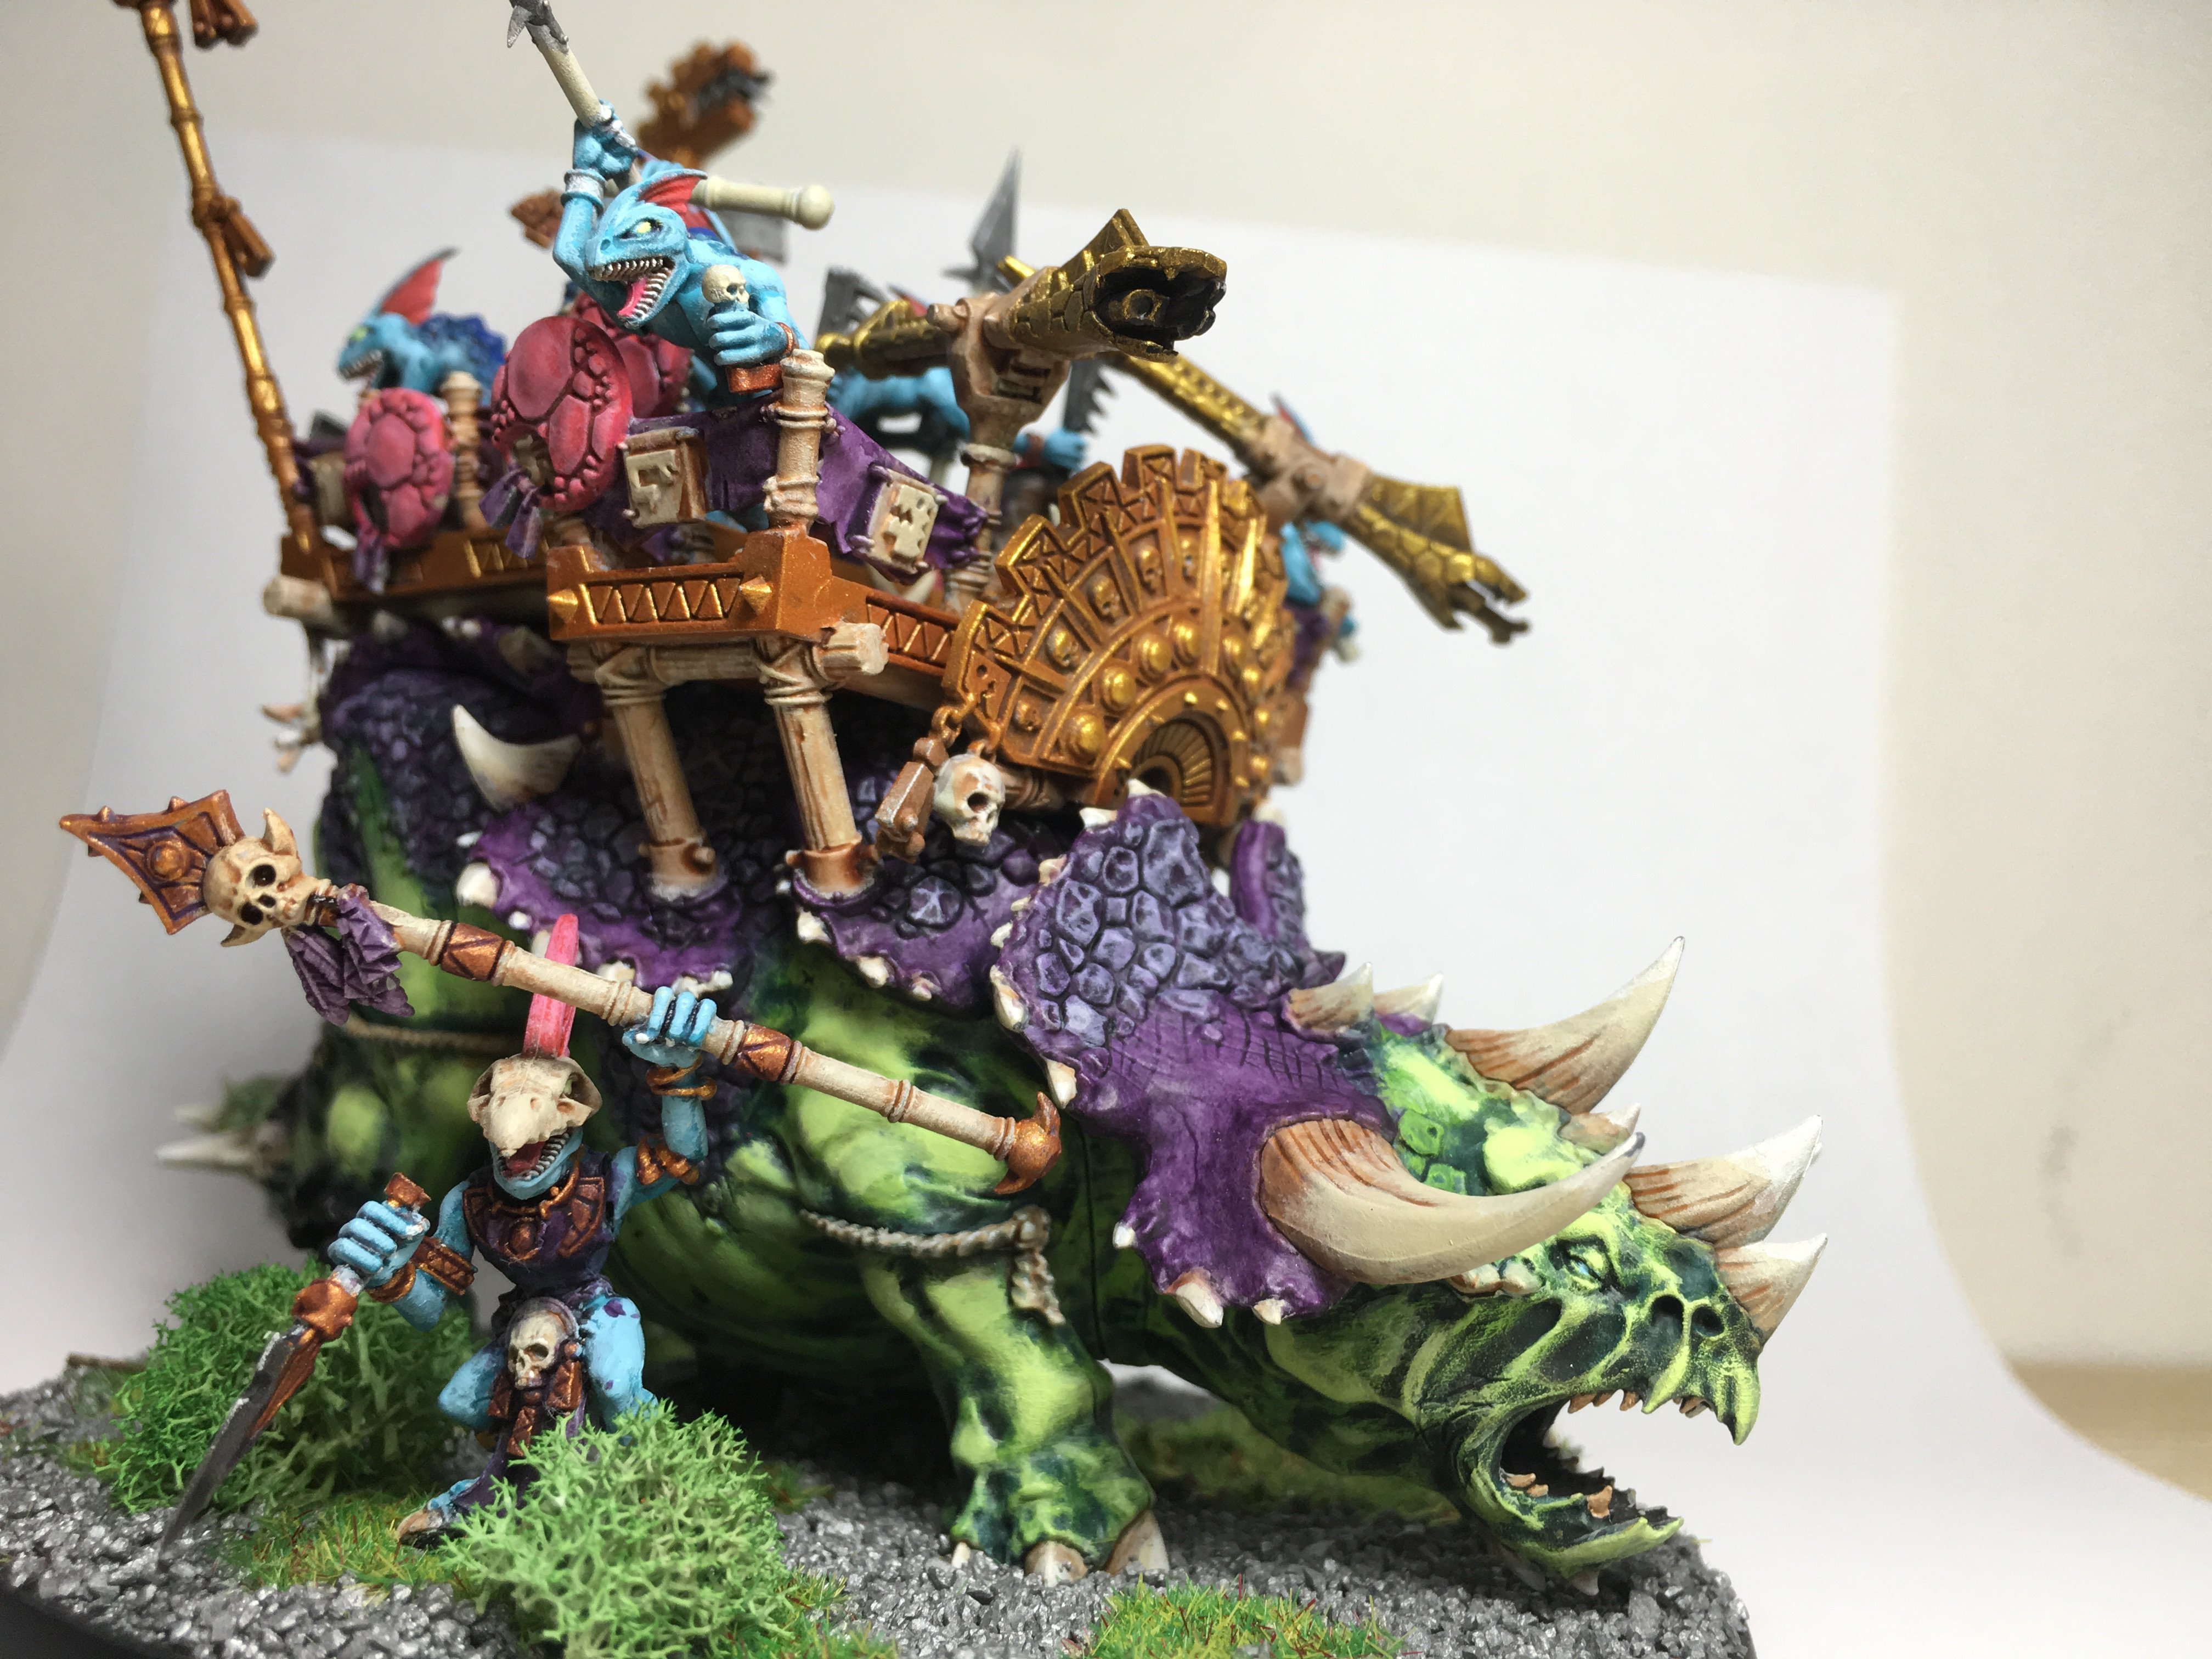
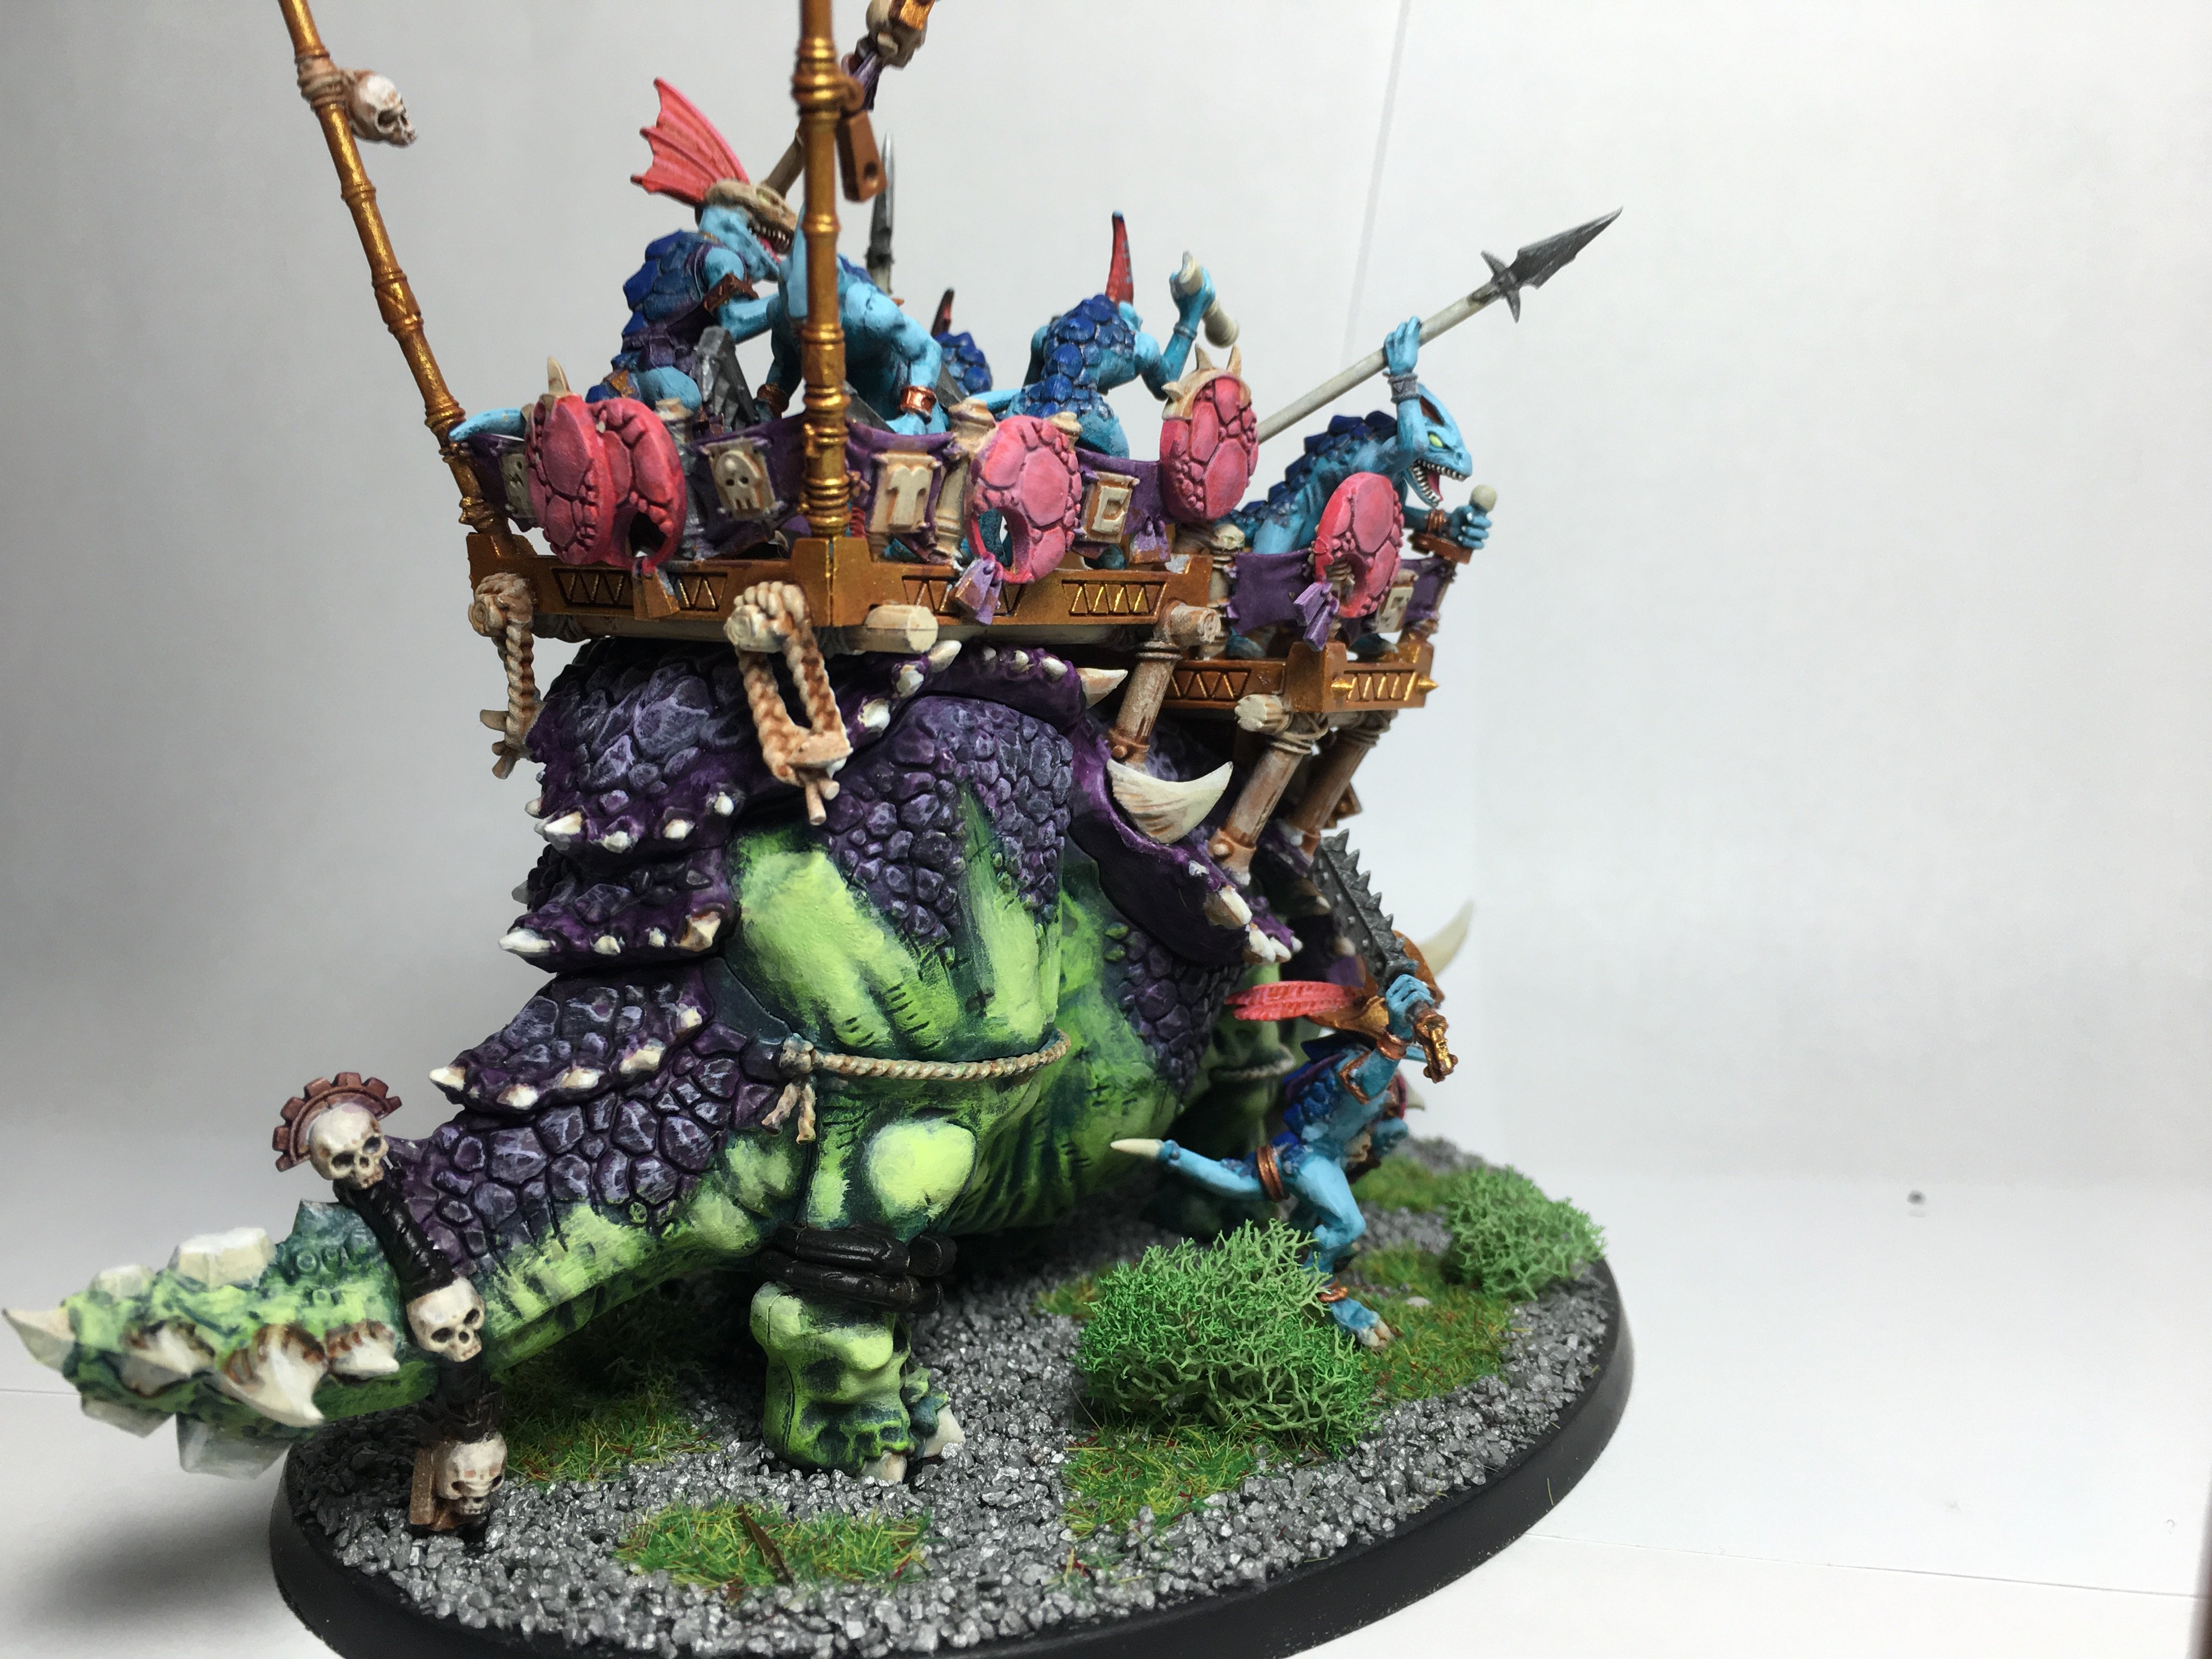
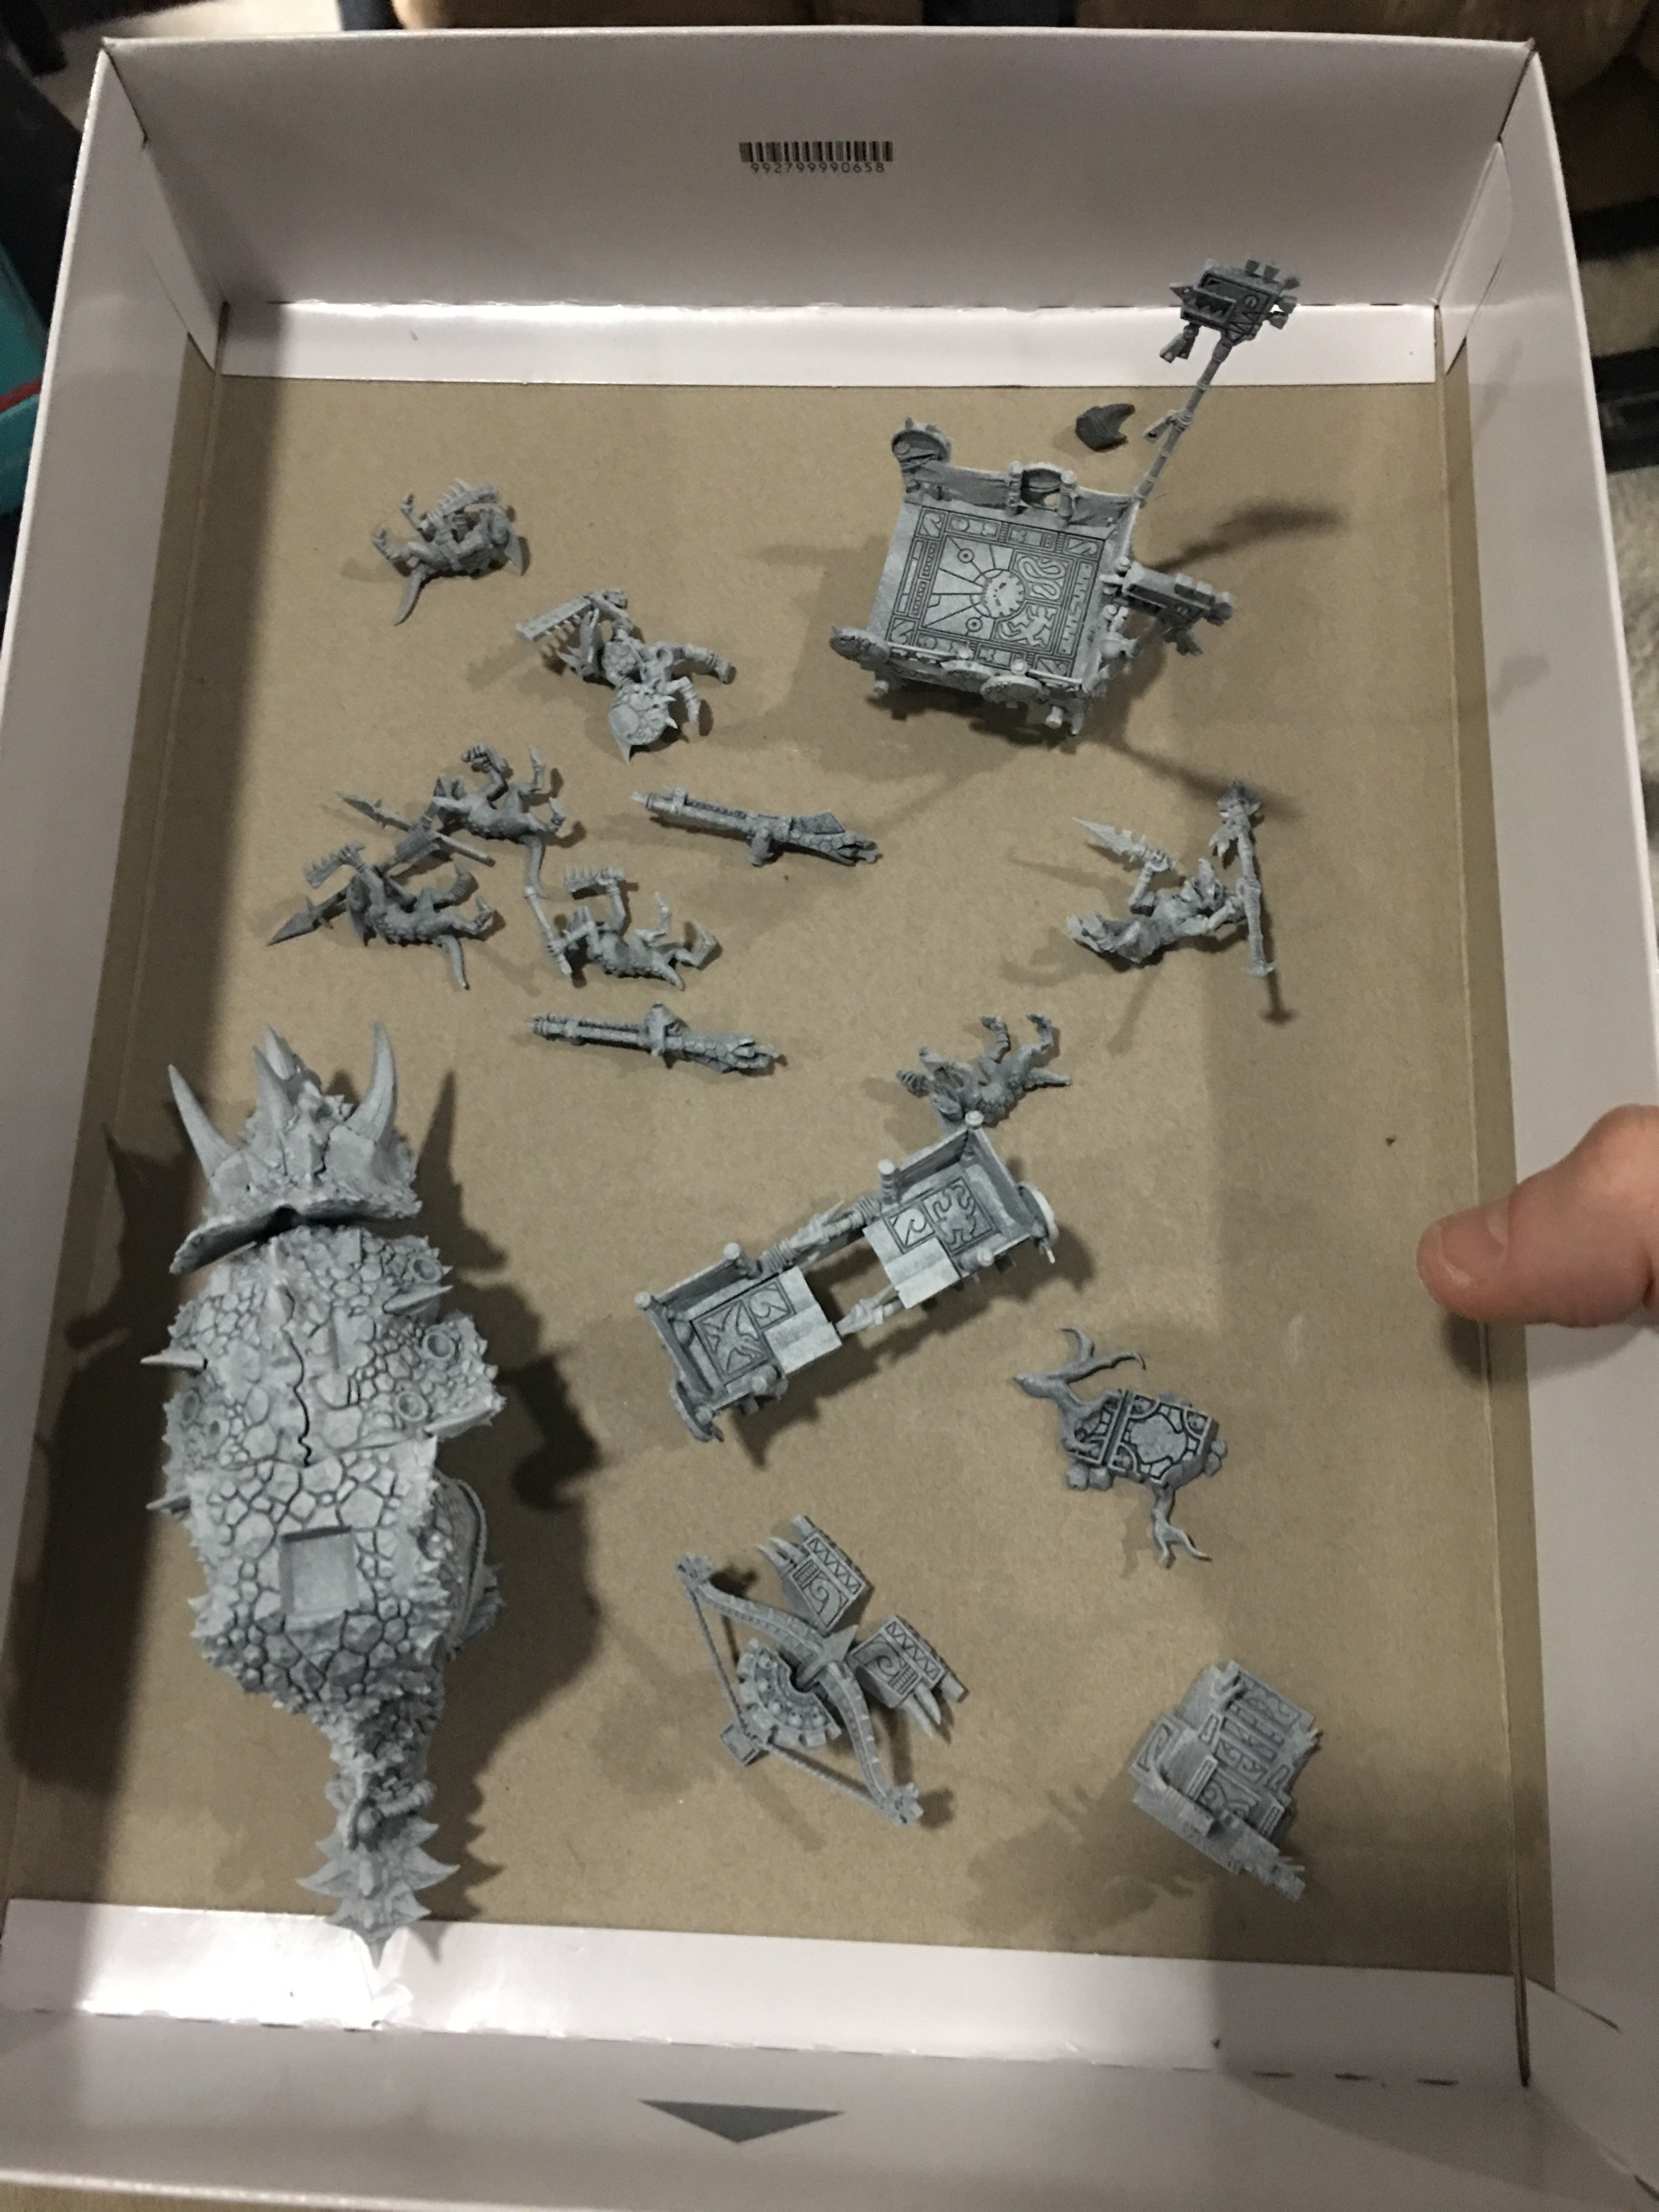
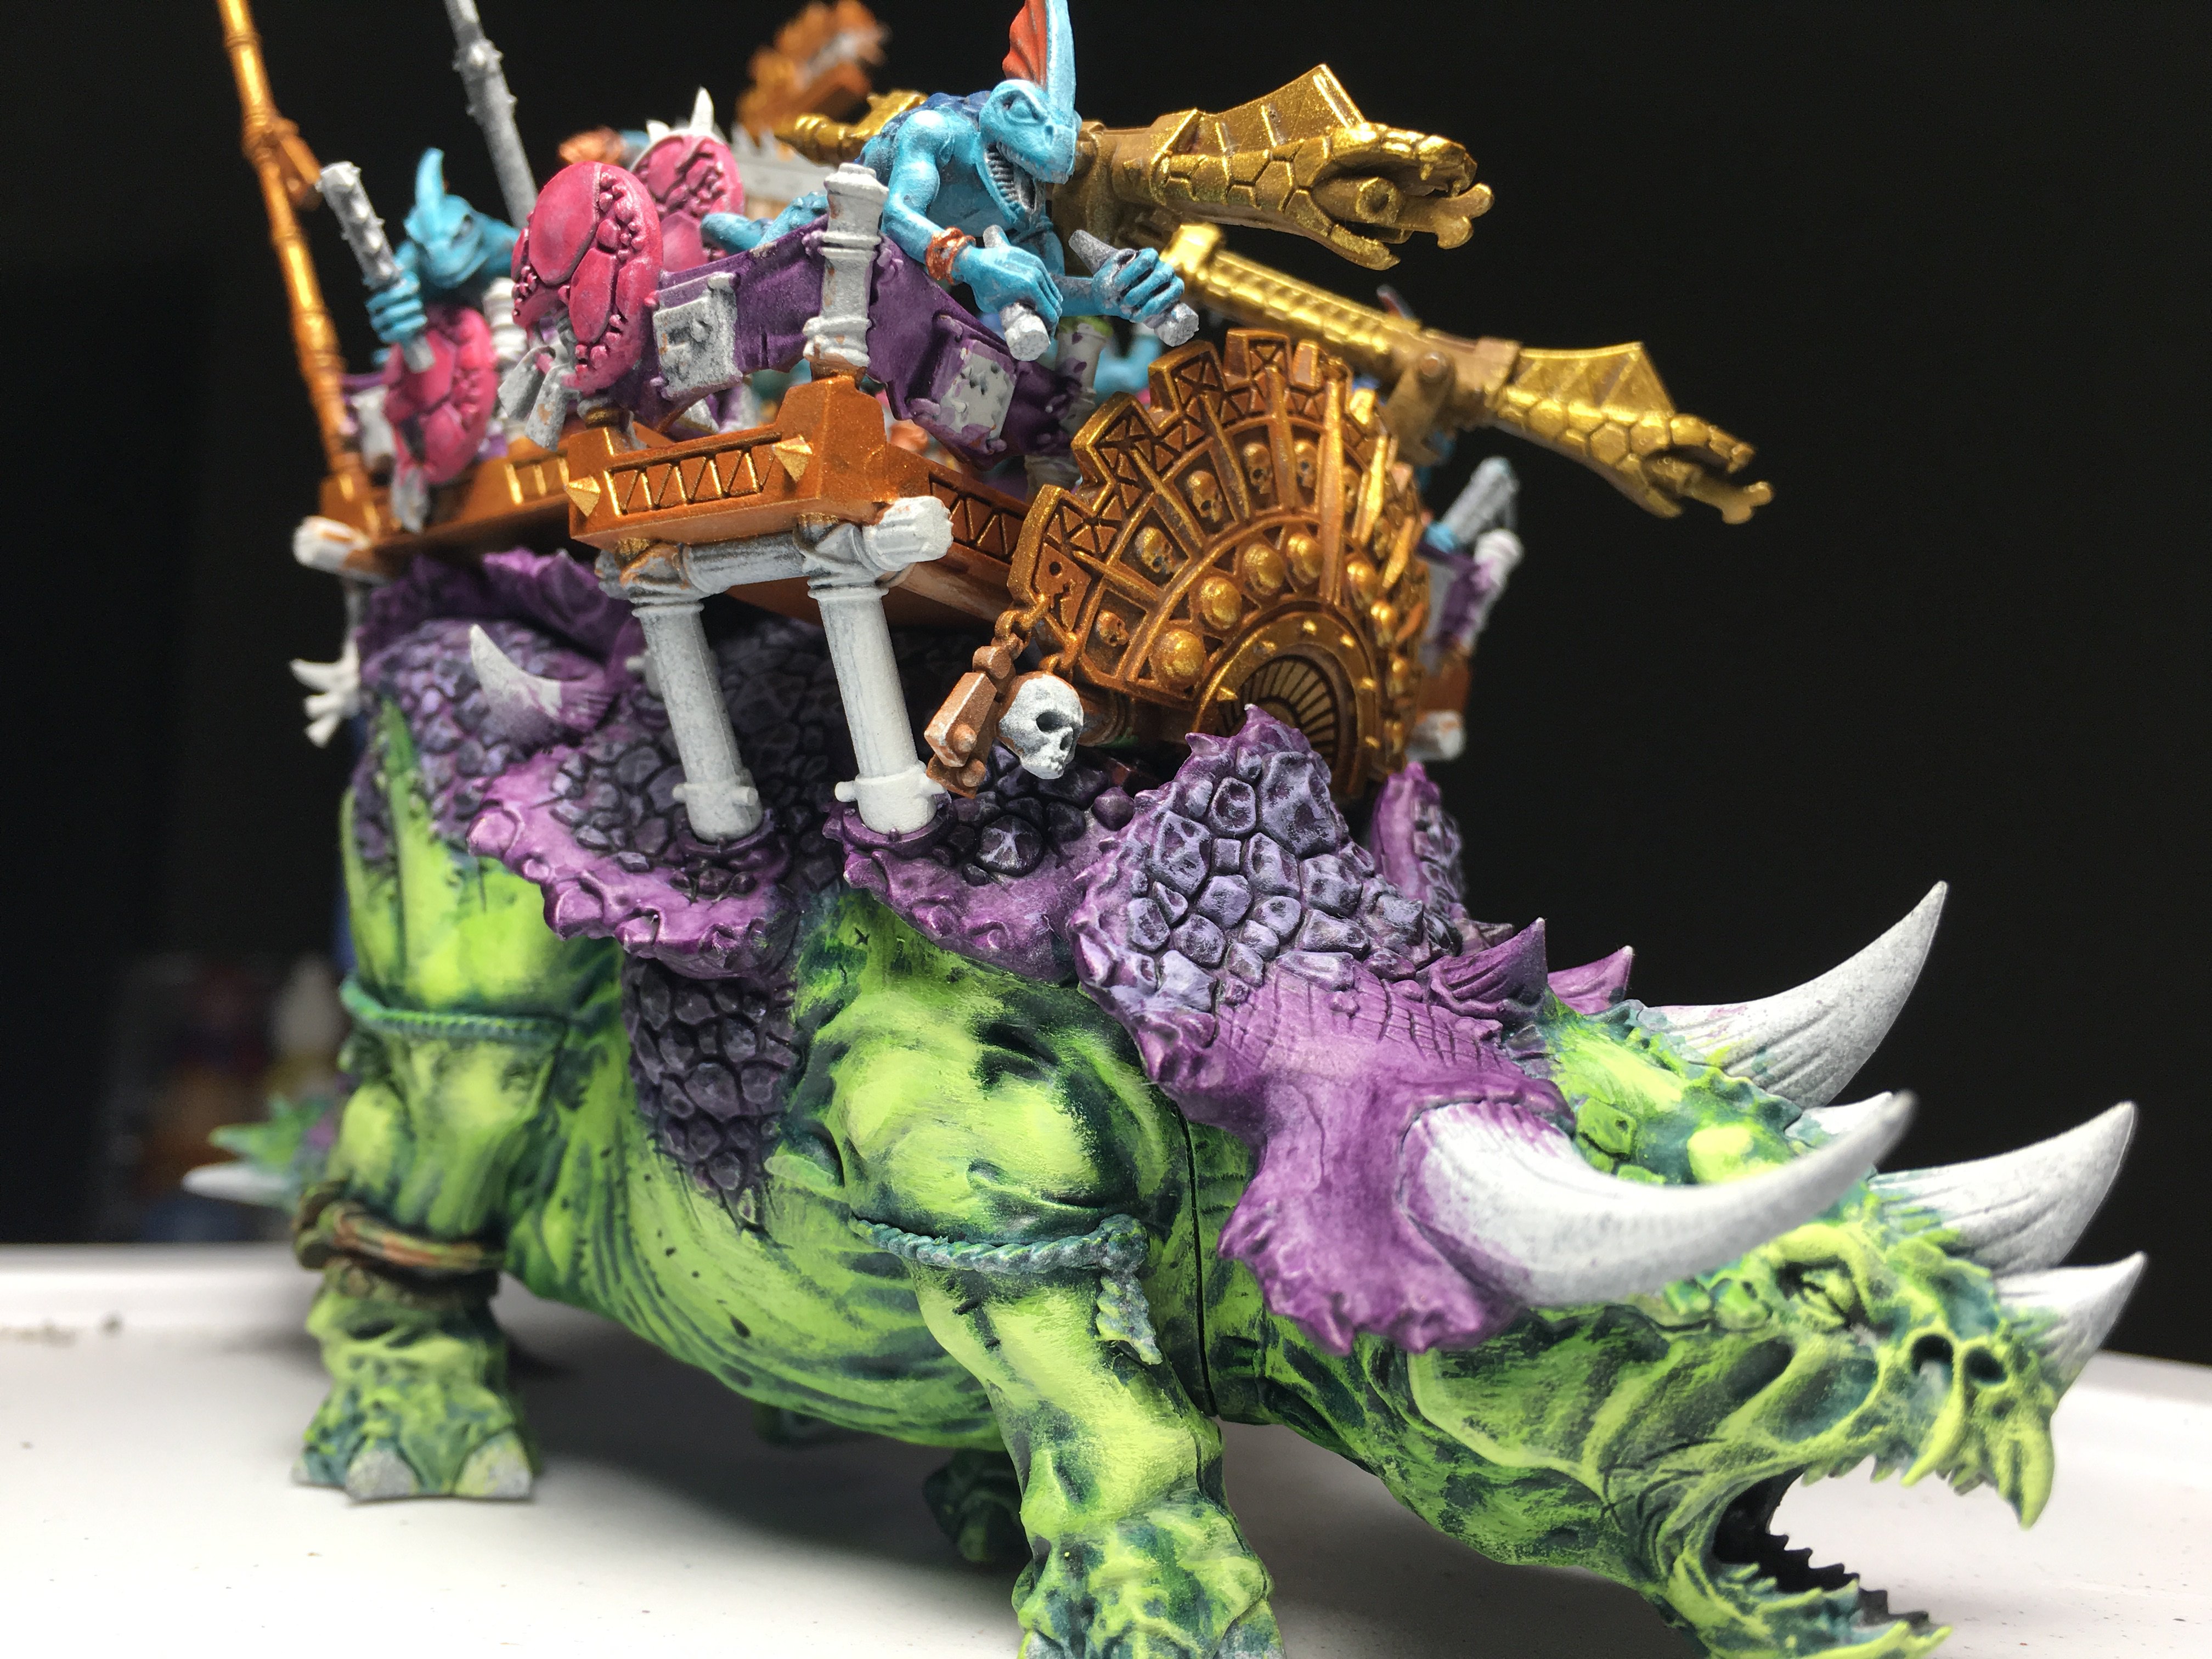
Here are some pictures of my newly created (and thoroughly magnetized) Warhammer: Age of Sigmar Seraphon Stegadon/Engine of the Gods model.
This miniature boasts sixteen magnets.
- Four 1x1mm neodymium magnets for the mountable flamethrowers
- Twelve 2x1mm neodymium magnets:
- Two on the base to hold the spare Alpha/Priest
- Two per Alpha/Priest (feet)
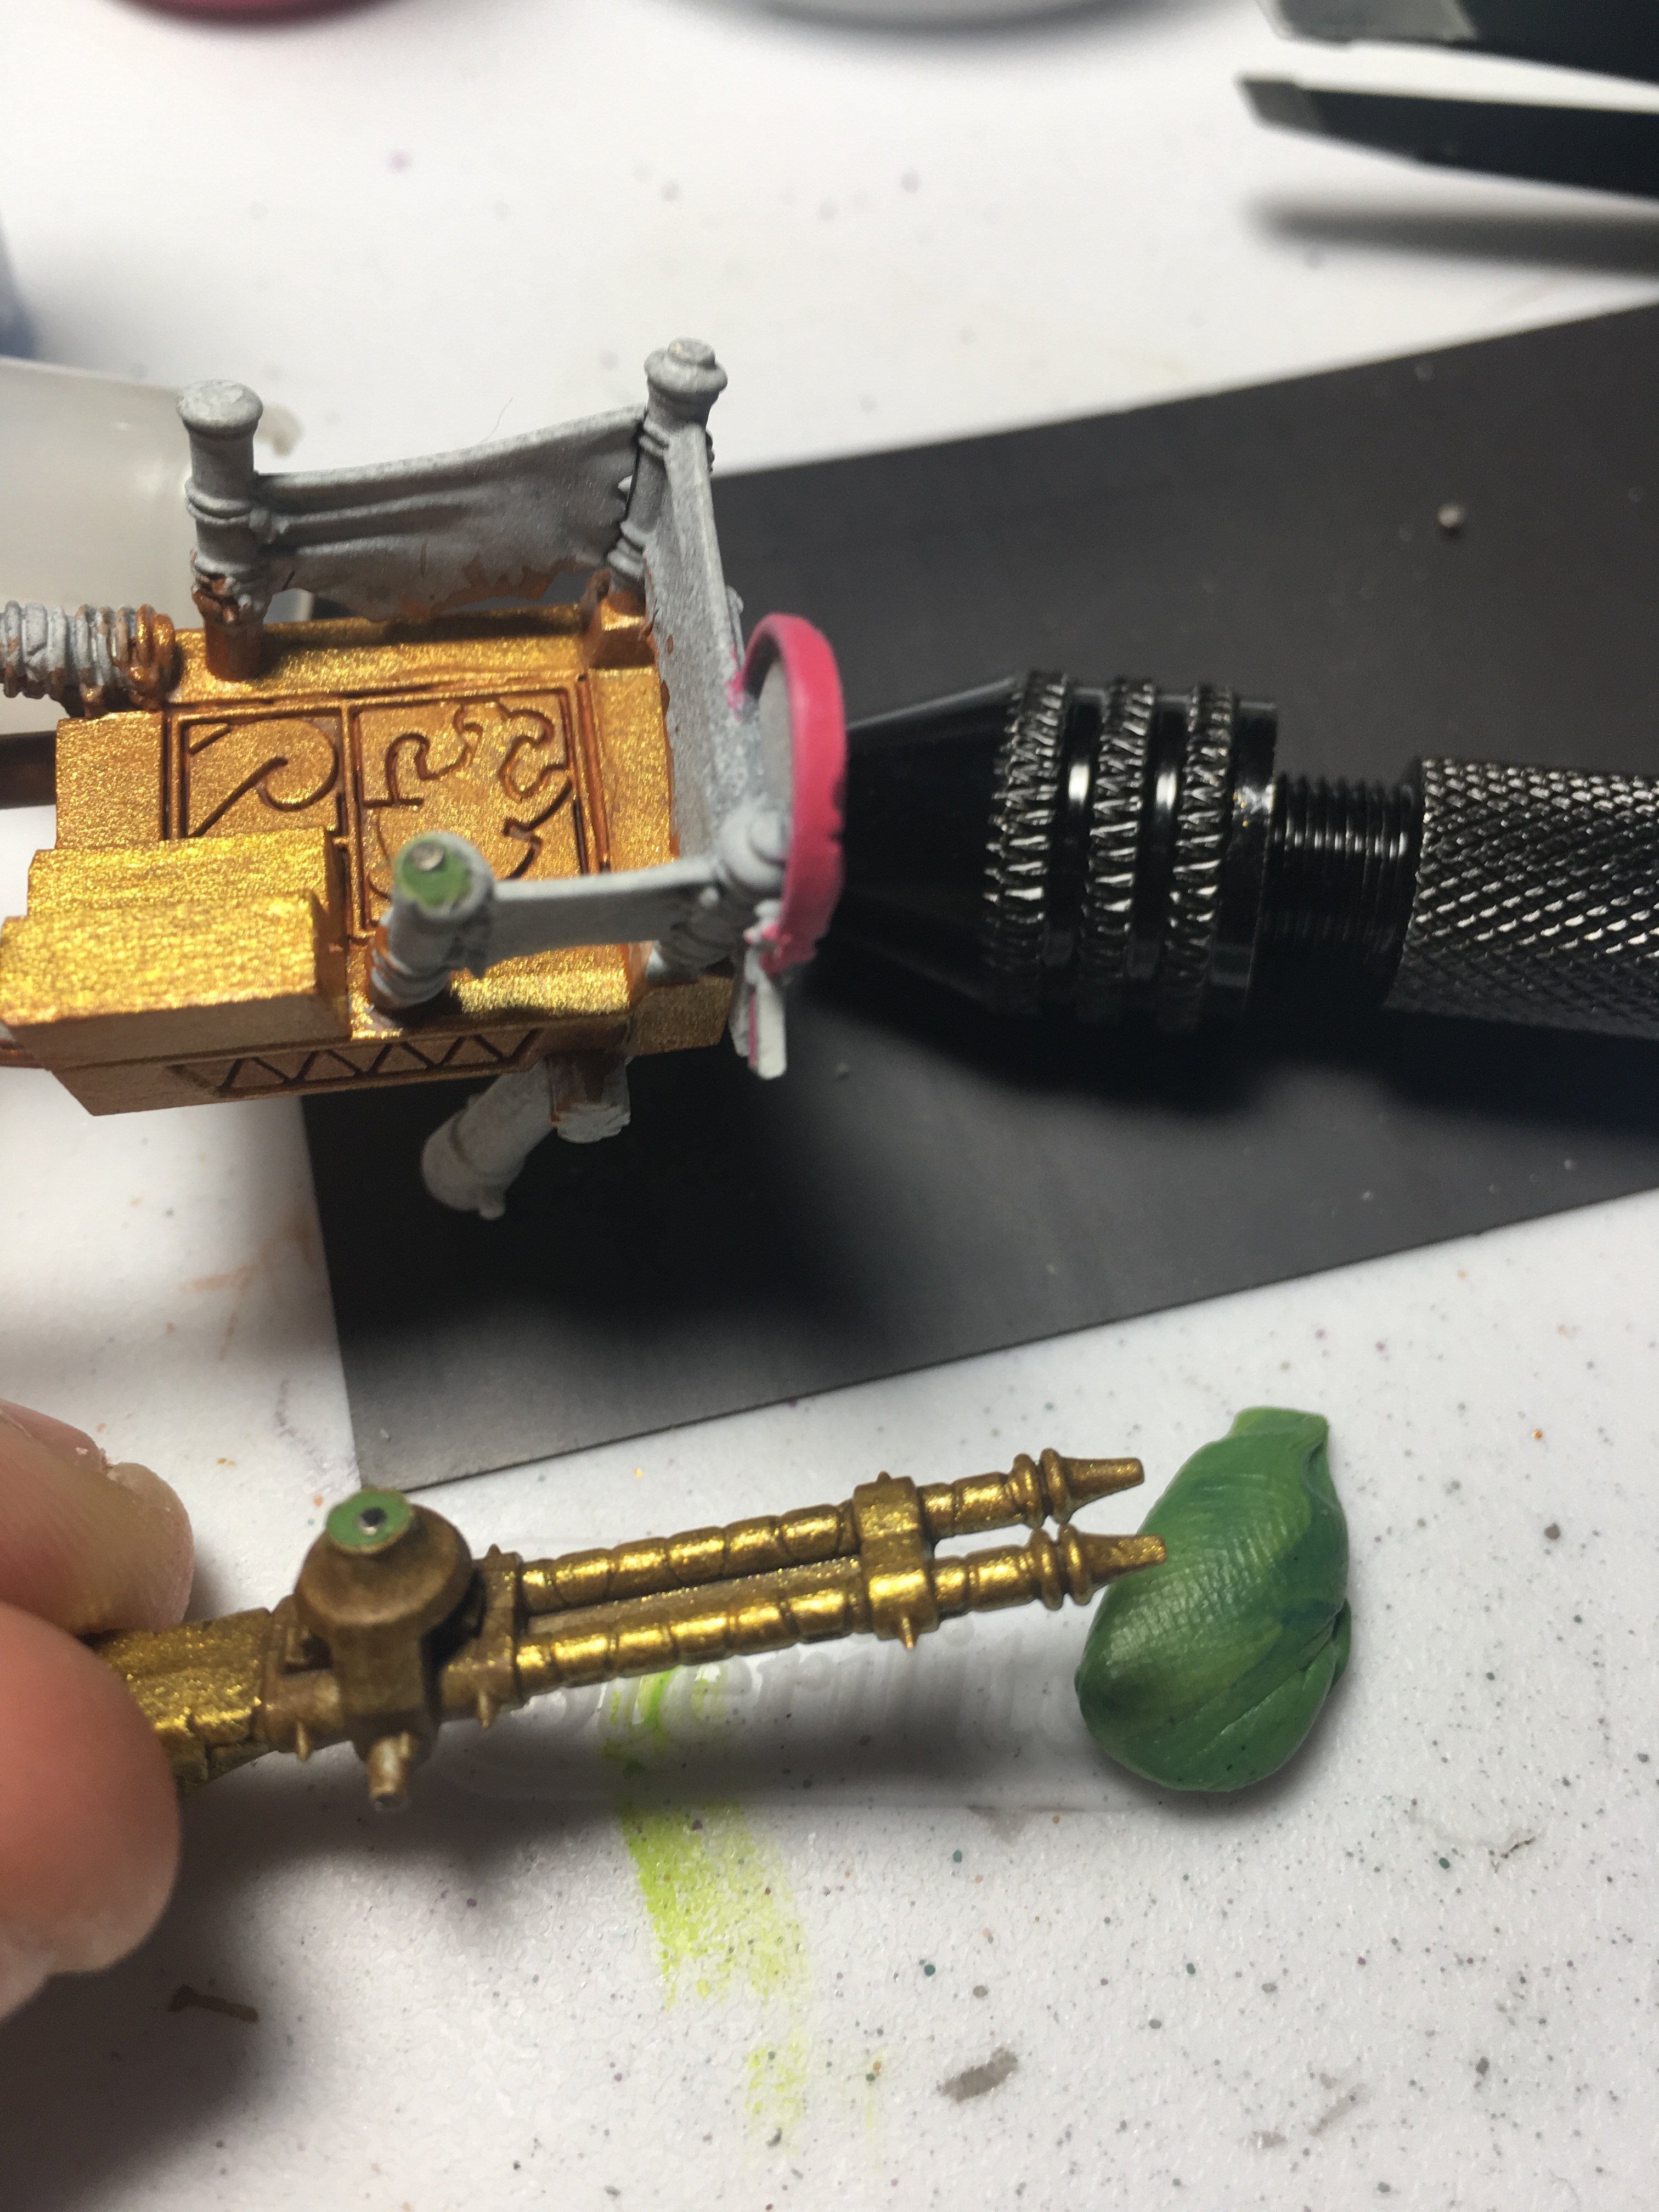
- Two in the skink’s contraption to hold the active Alpha/Priest
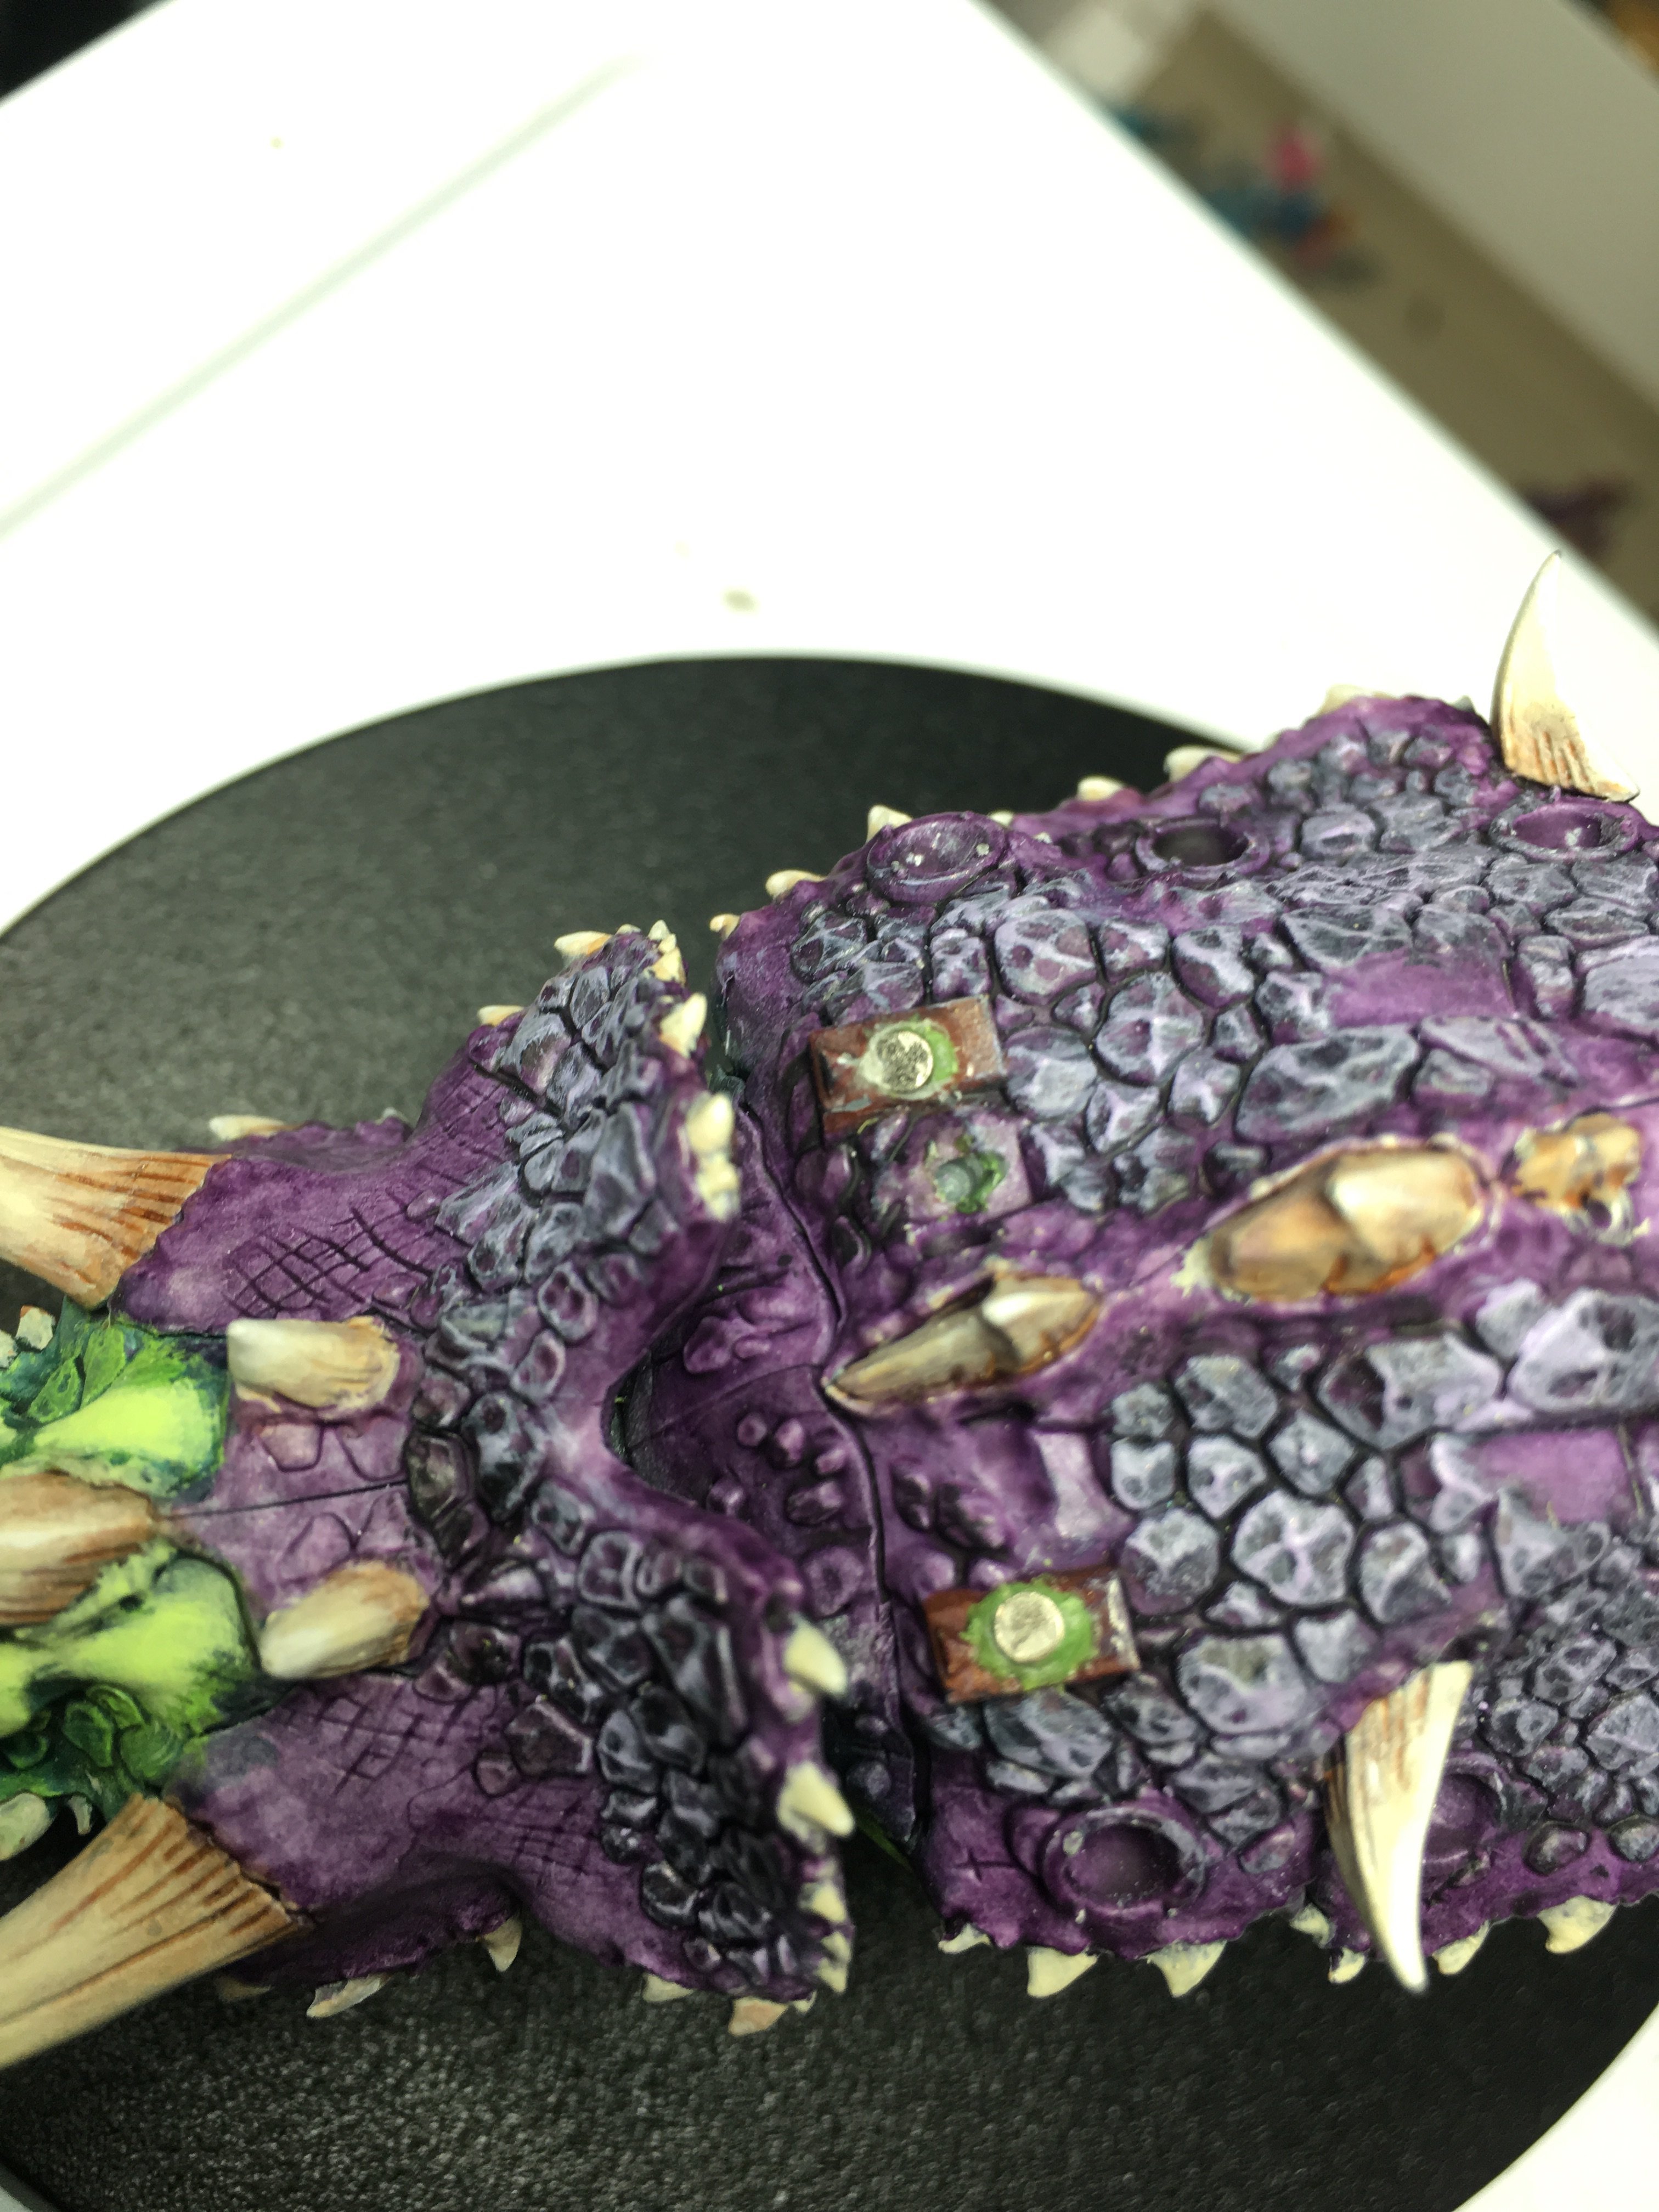
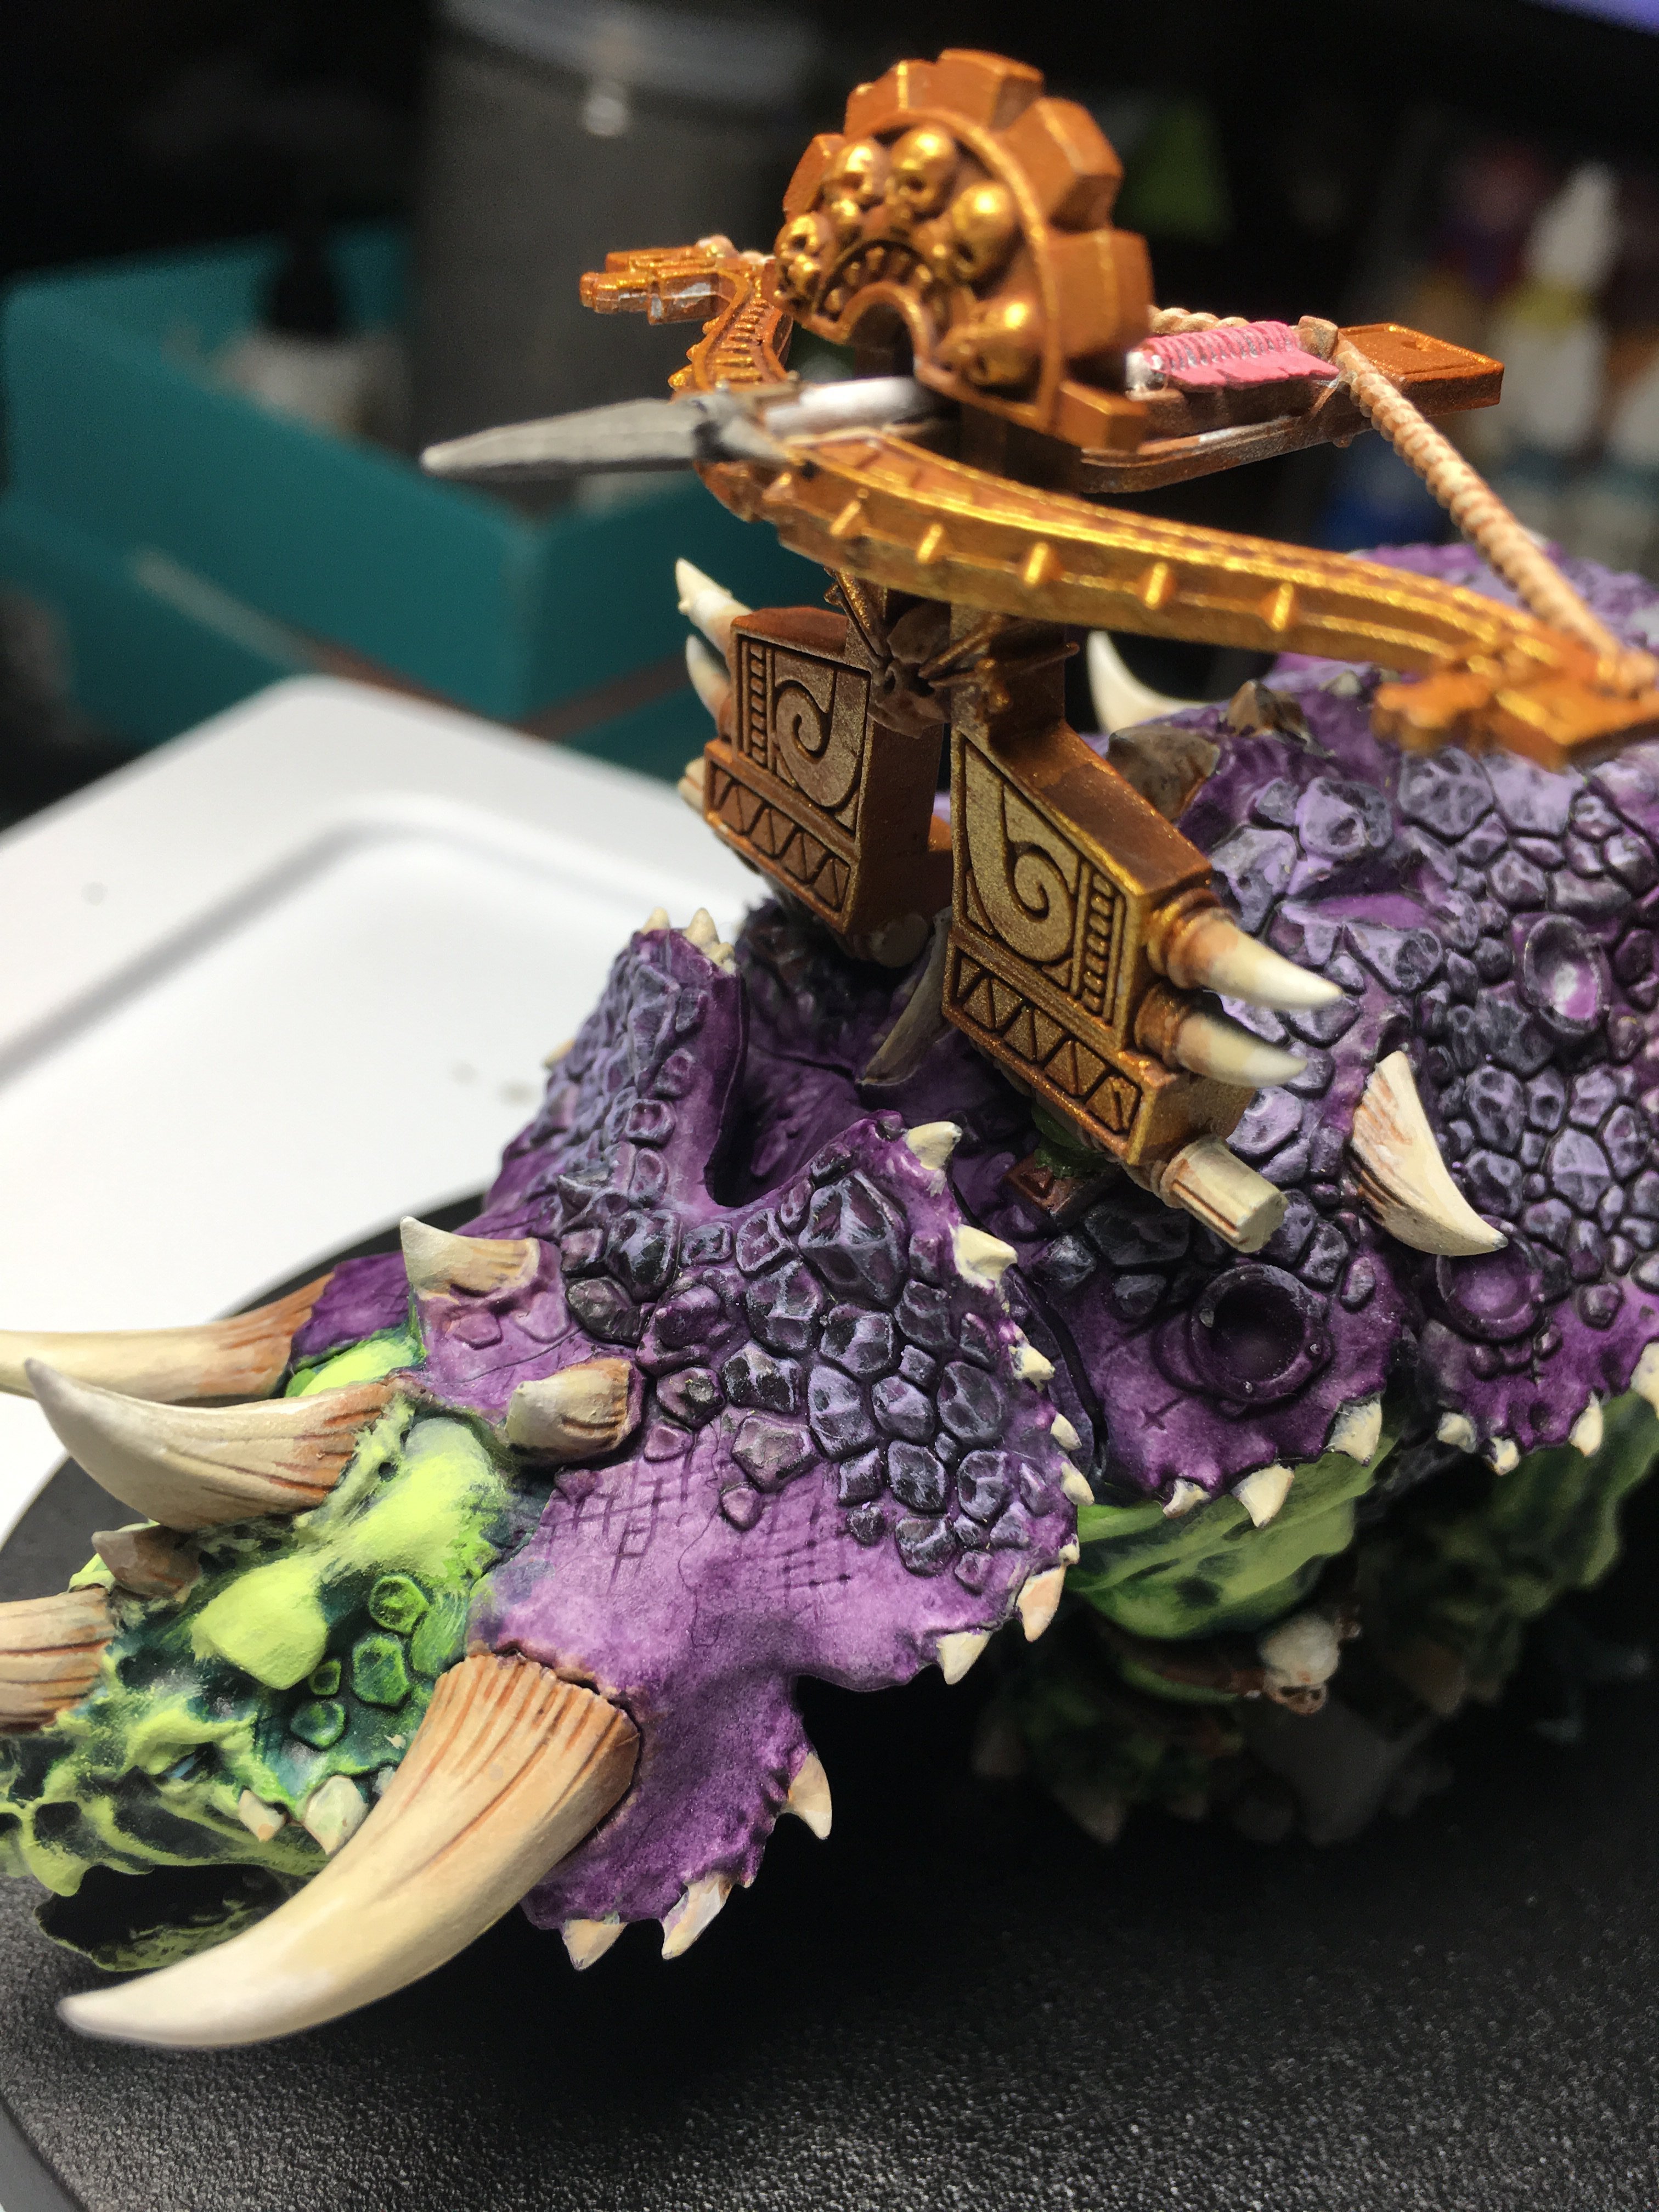
- Two in the Stegadon’s back, to switch between:
- Decorative headpiece (used with flamethrowers)
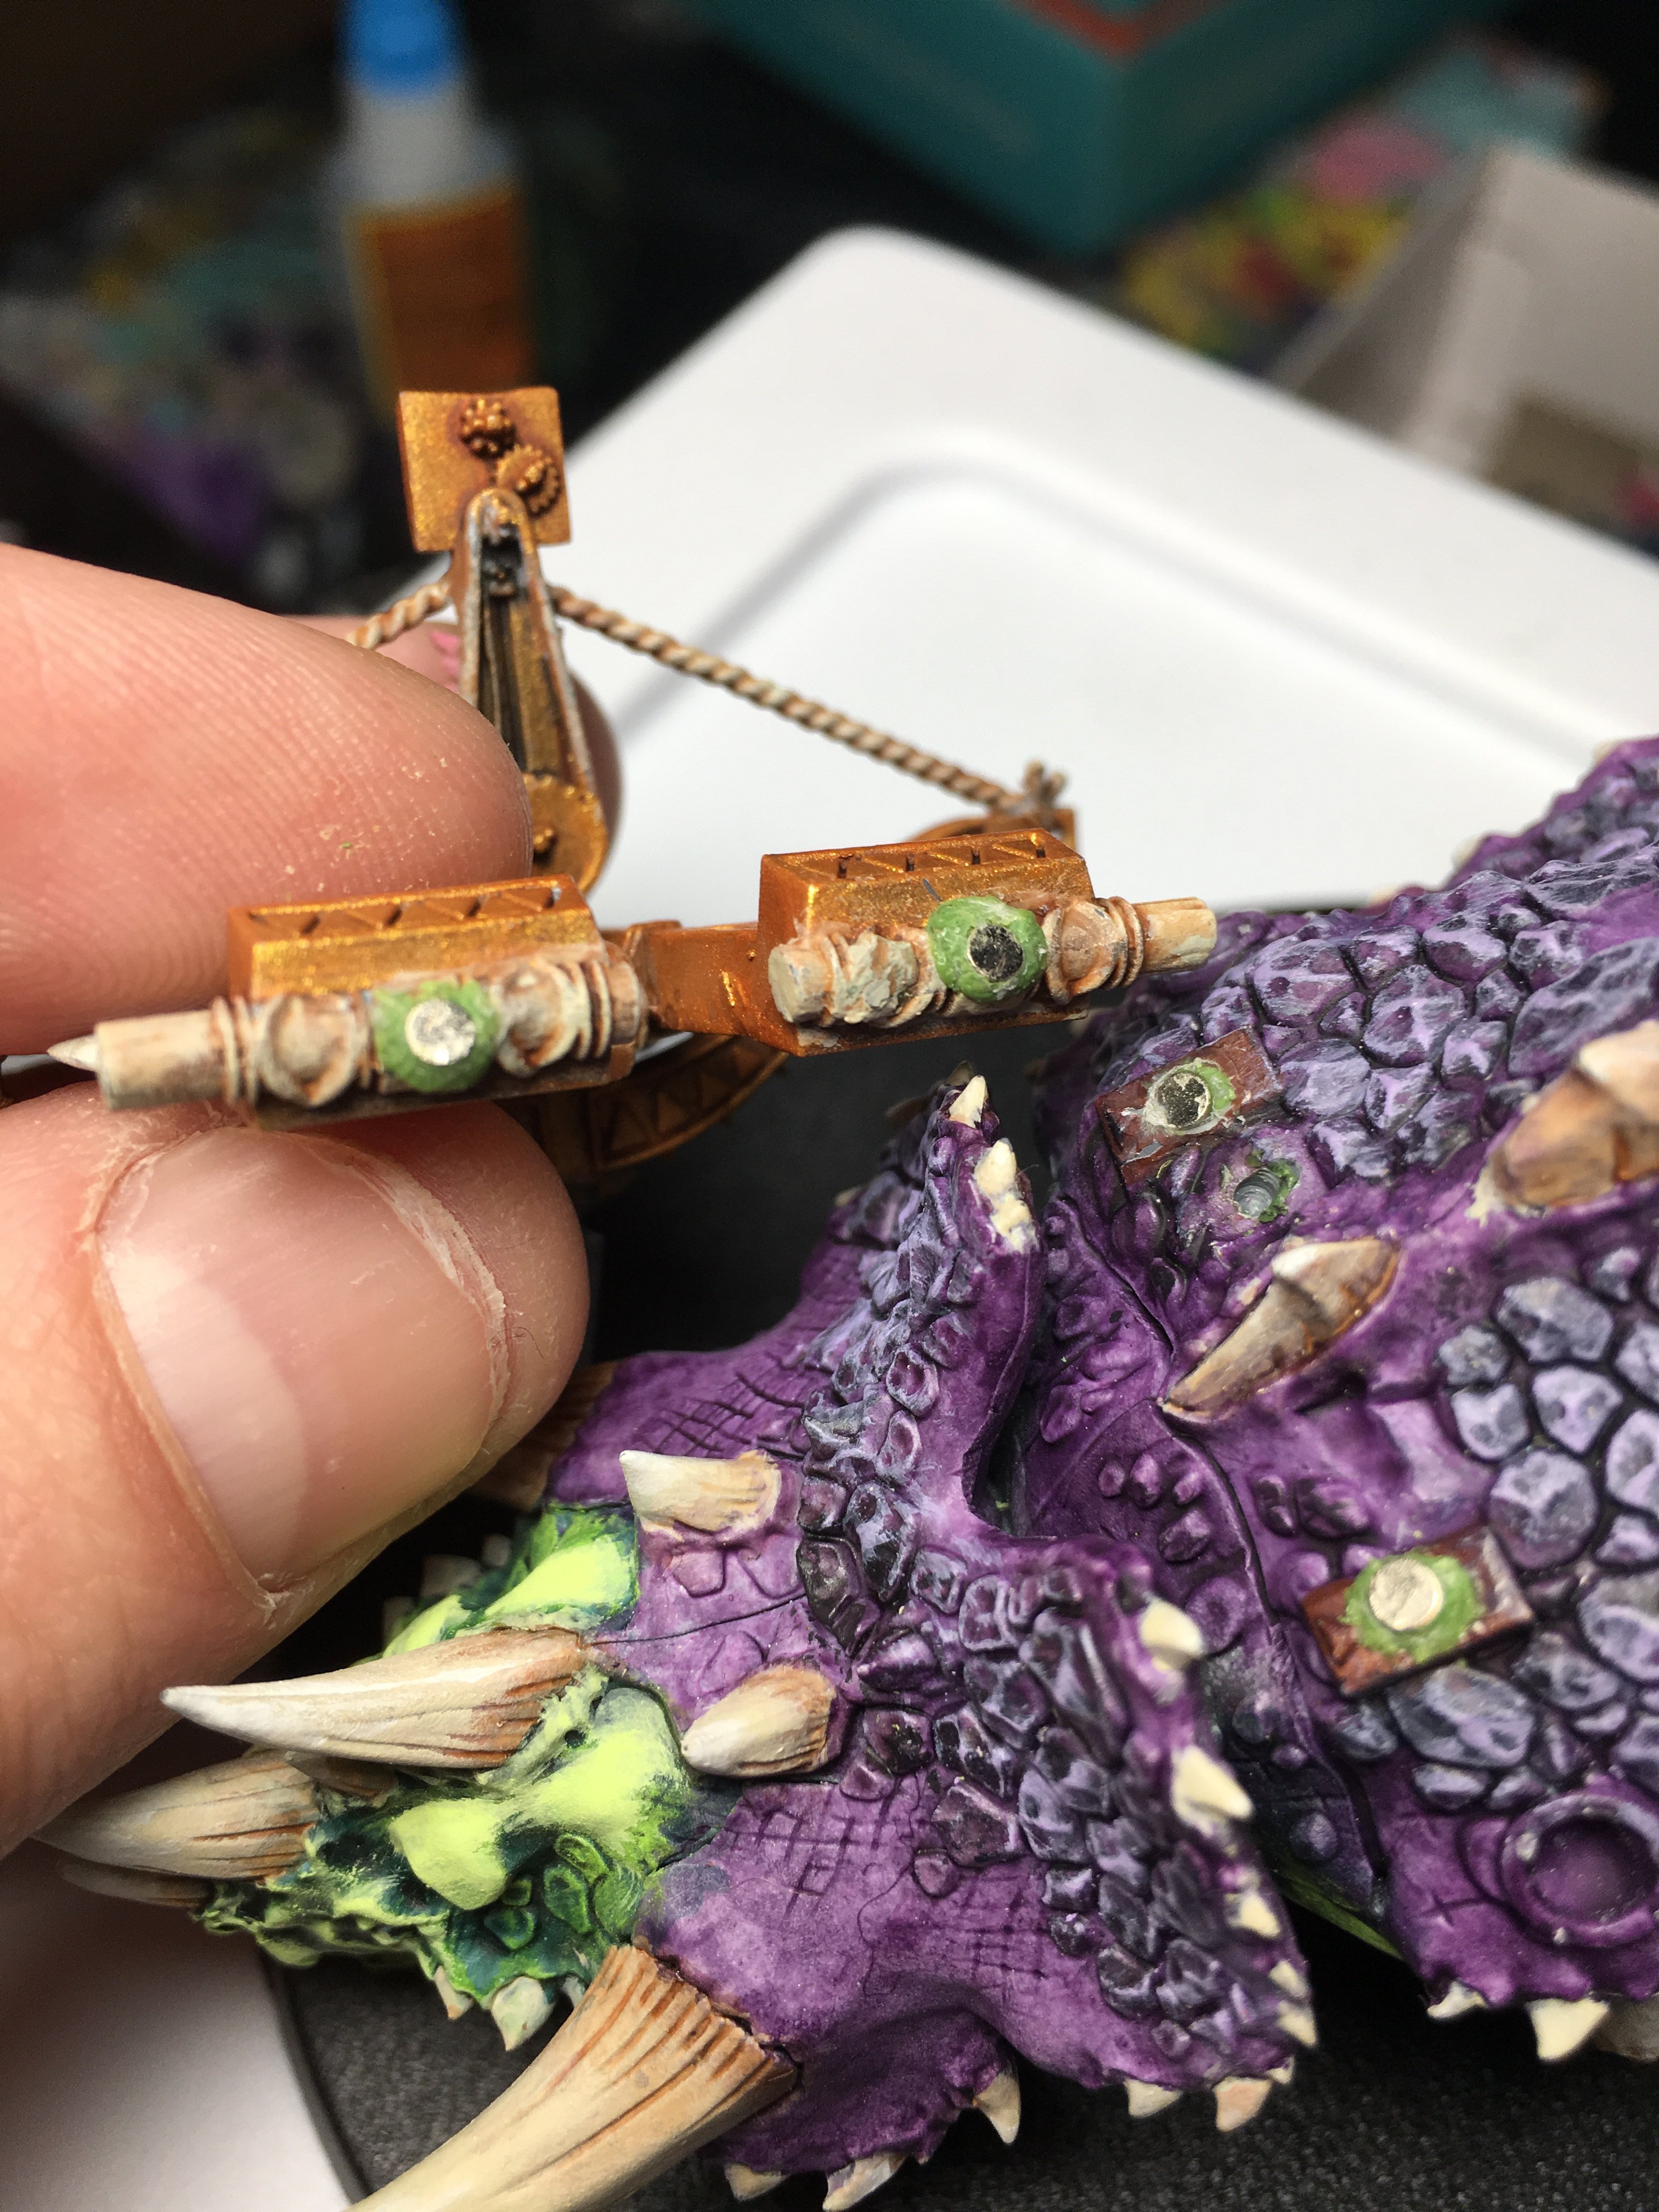
- Crossbow
The model can be converted between three configurations using magnets:
- Stegadon - with Flamethrowers
- Stegadon - with Crossbow
- Engine of the Gods
By adding magnets all over the model, I was able to achieve a dual-function model, something I’m quite proud of.
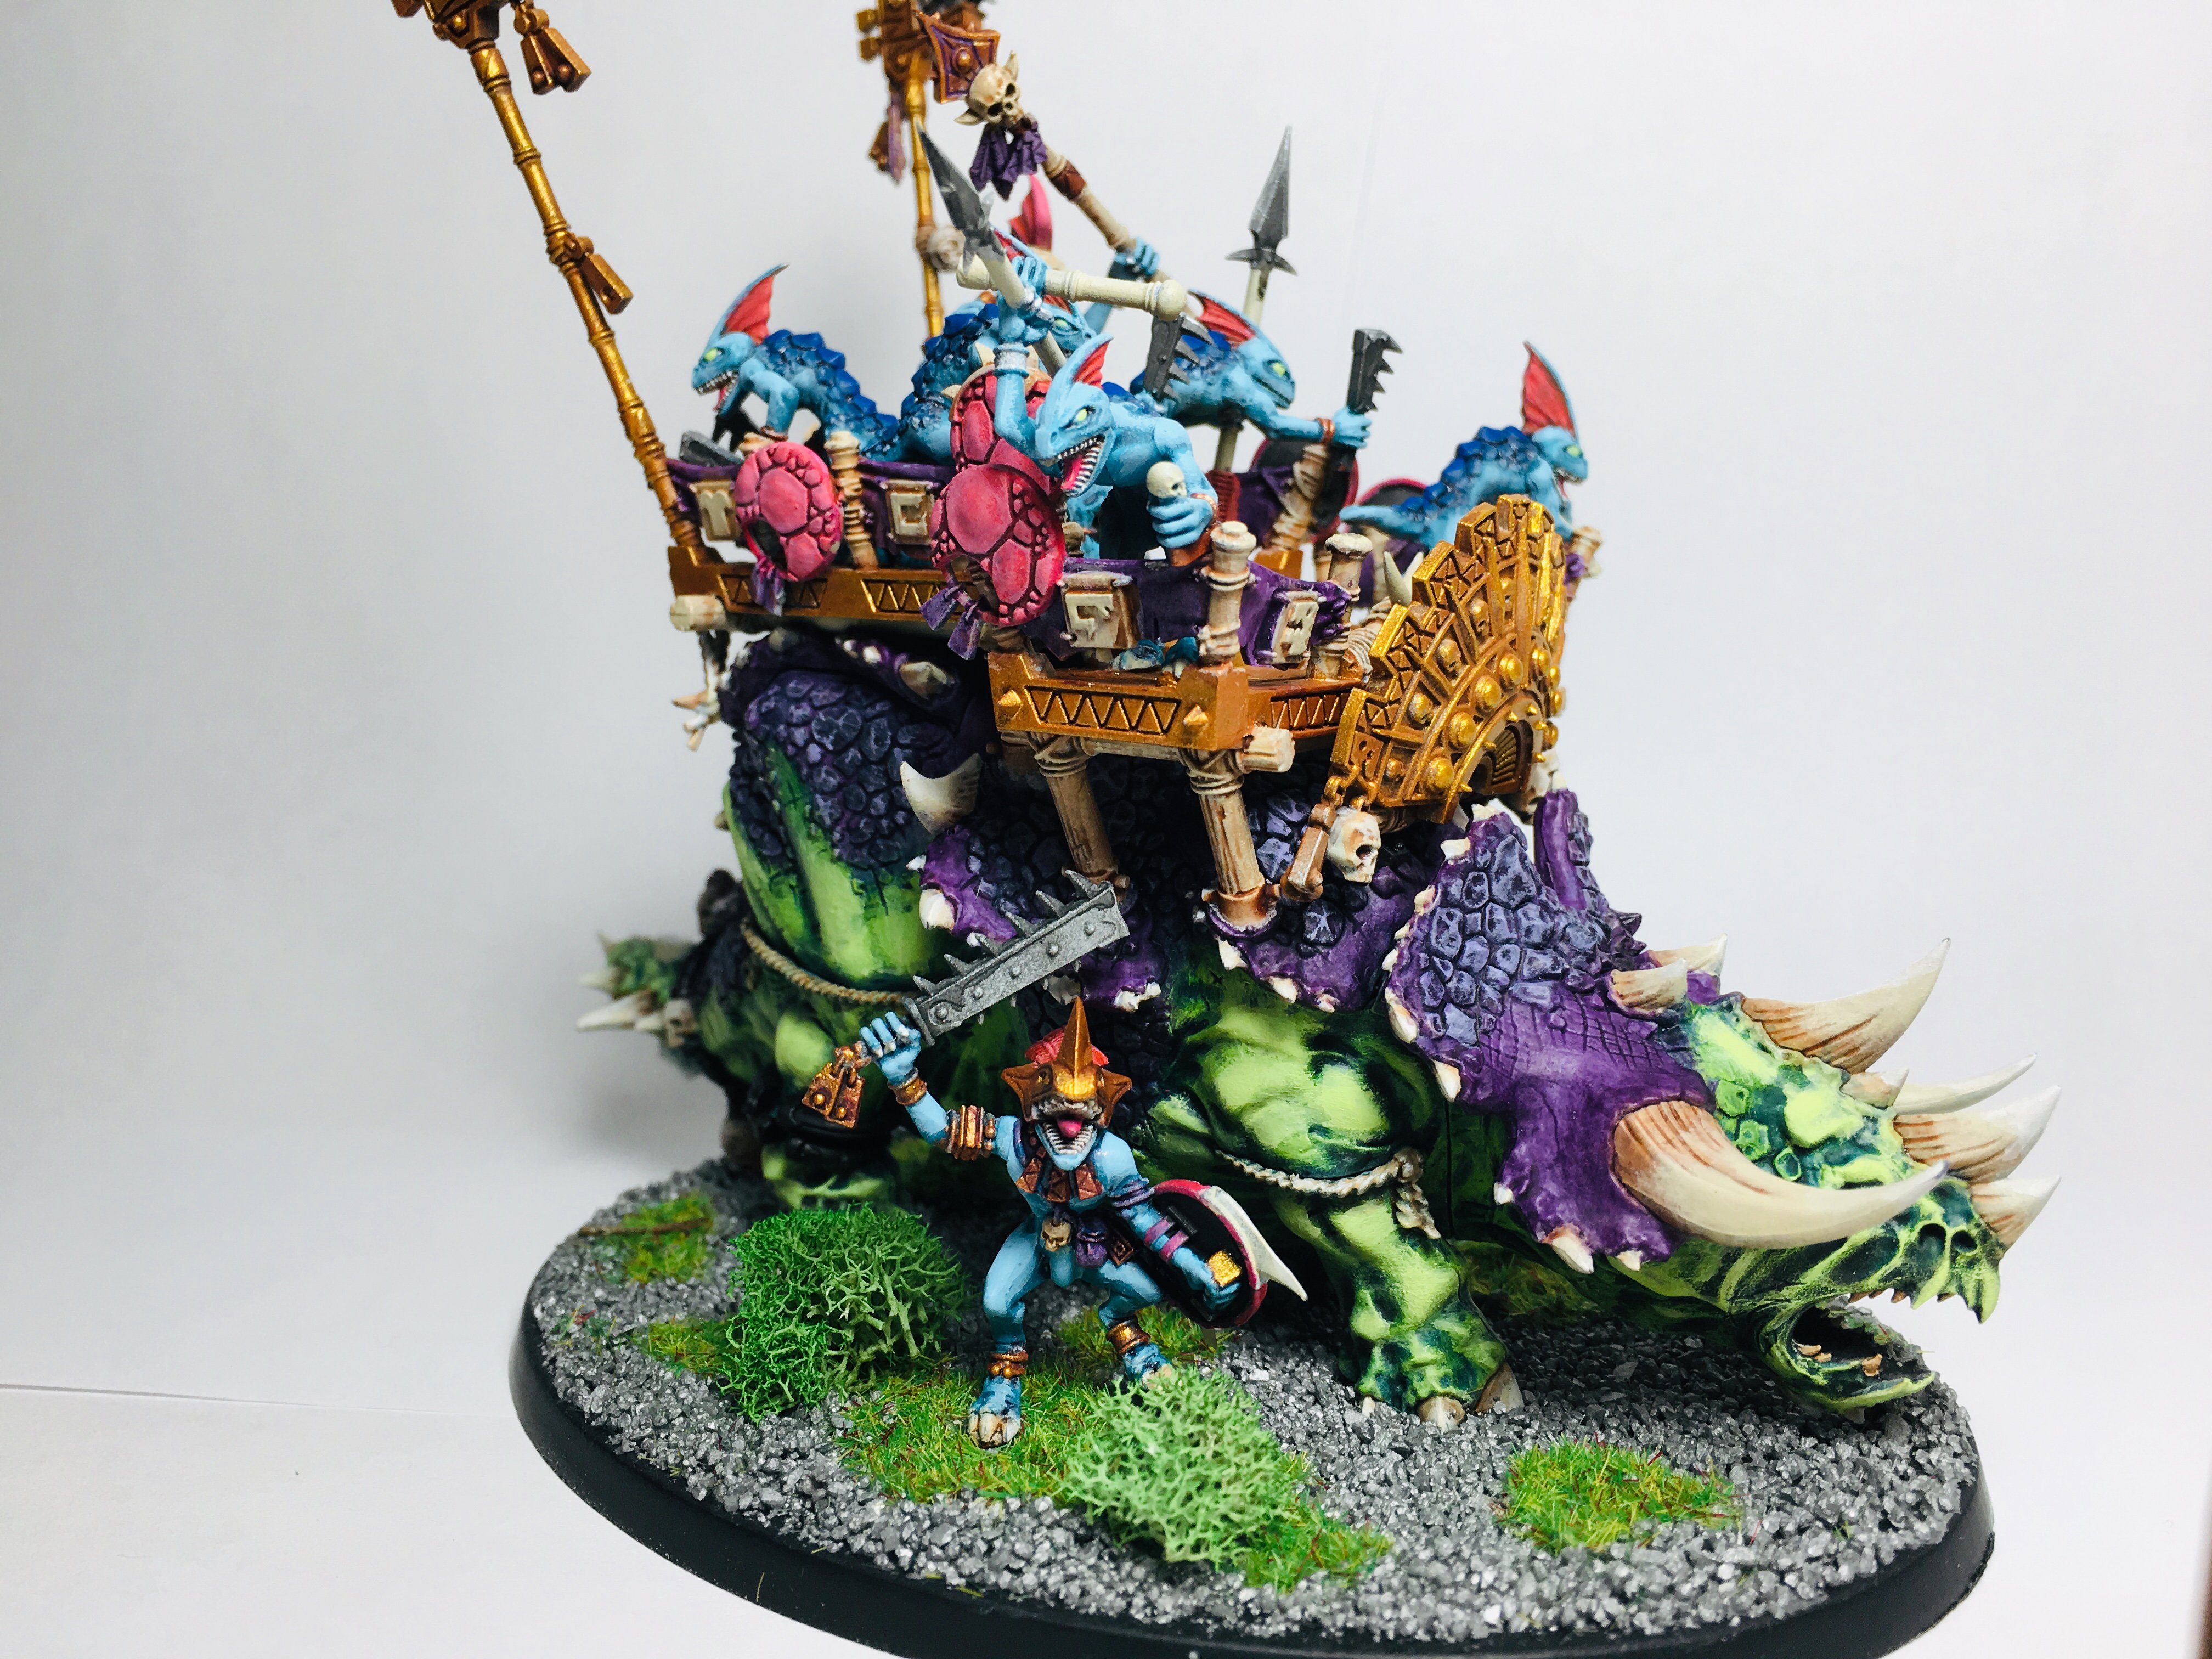
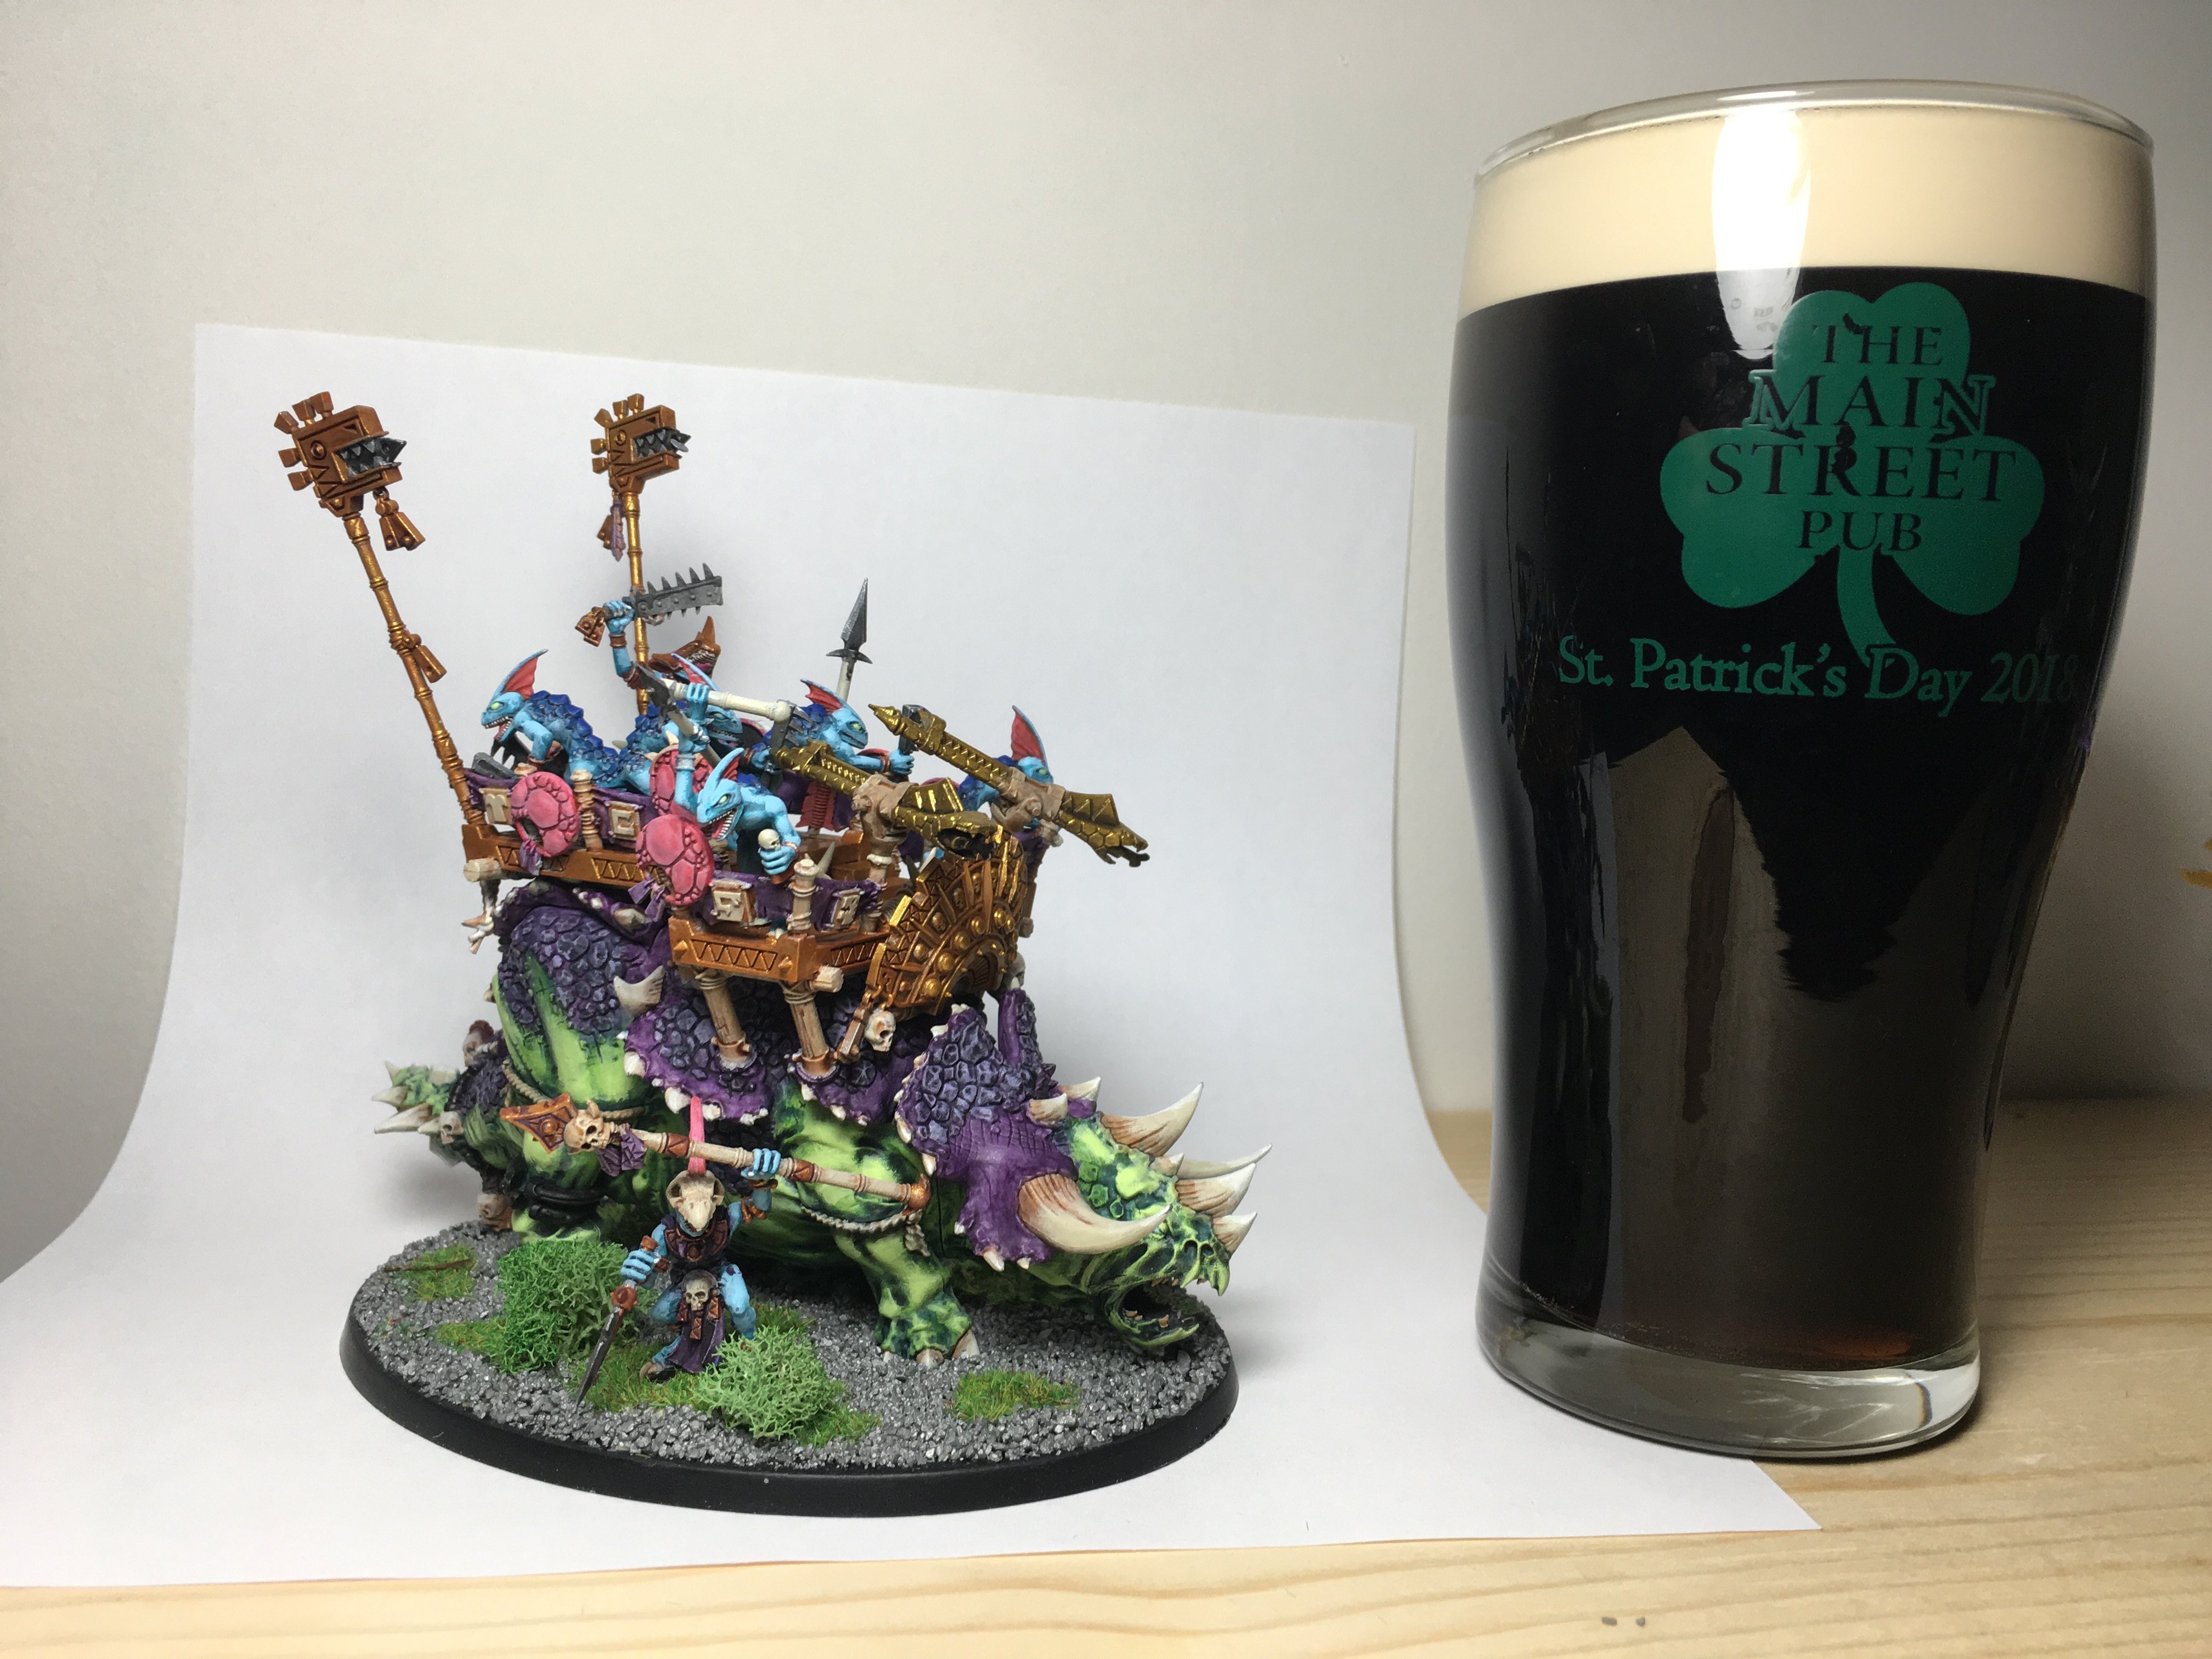
End Result
This was my first time magnetizing a model. I learned a lot. I’m writing this blog mostly as a way to recap what I’ve learned.
Lessons Learned
- Use eBay to buy magnets. Amazon is not great.
- Use a hand drill, not a powered drill, for more precision.
- Don’t be afraid to use green stuff liberally to fill in your mistakes
- 1x1mm magnets are not strong enough to hold much weight
- 2x1mm magnets, on the other hand, are perfectly strong enough for most applications
- Stick your magnets together and mark the ends with a sharpie.
- Never trust your previous markings - always test the magnet polarity before affixing them.
- I learned this multiple times.
- Magnetizing things is fun!
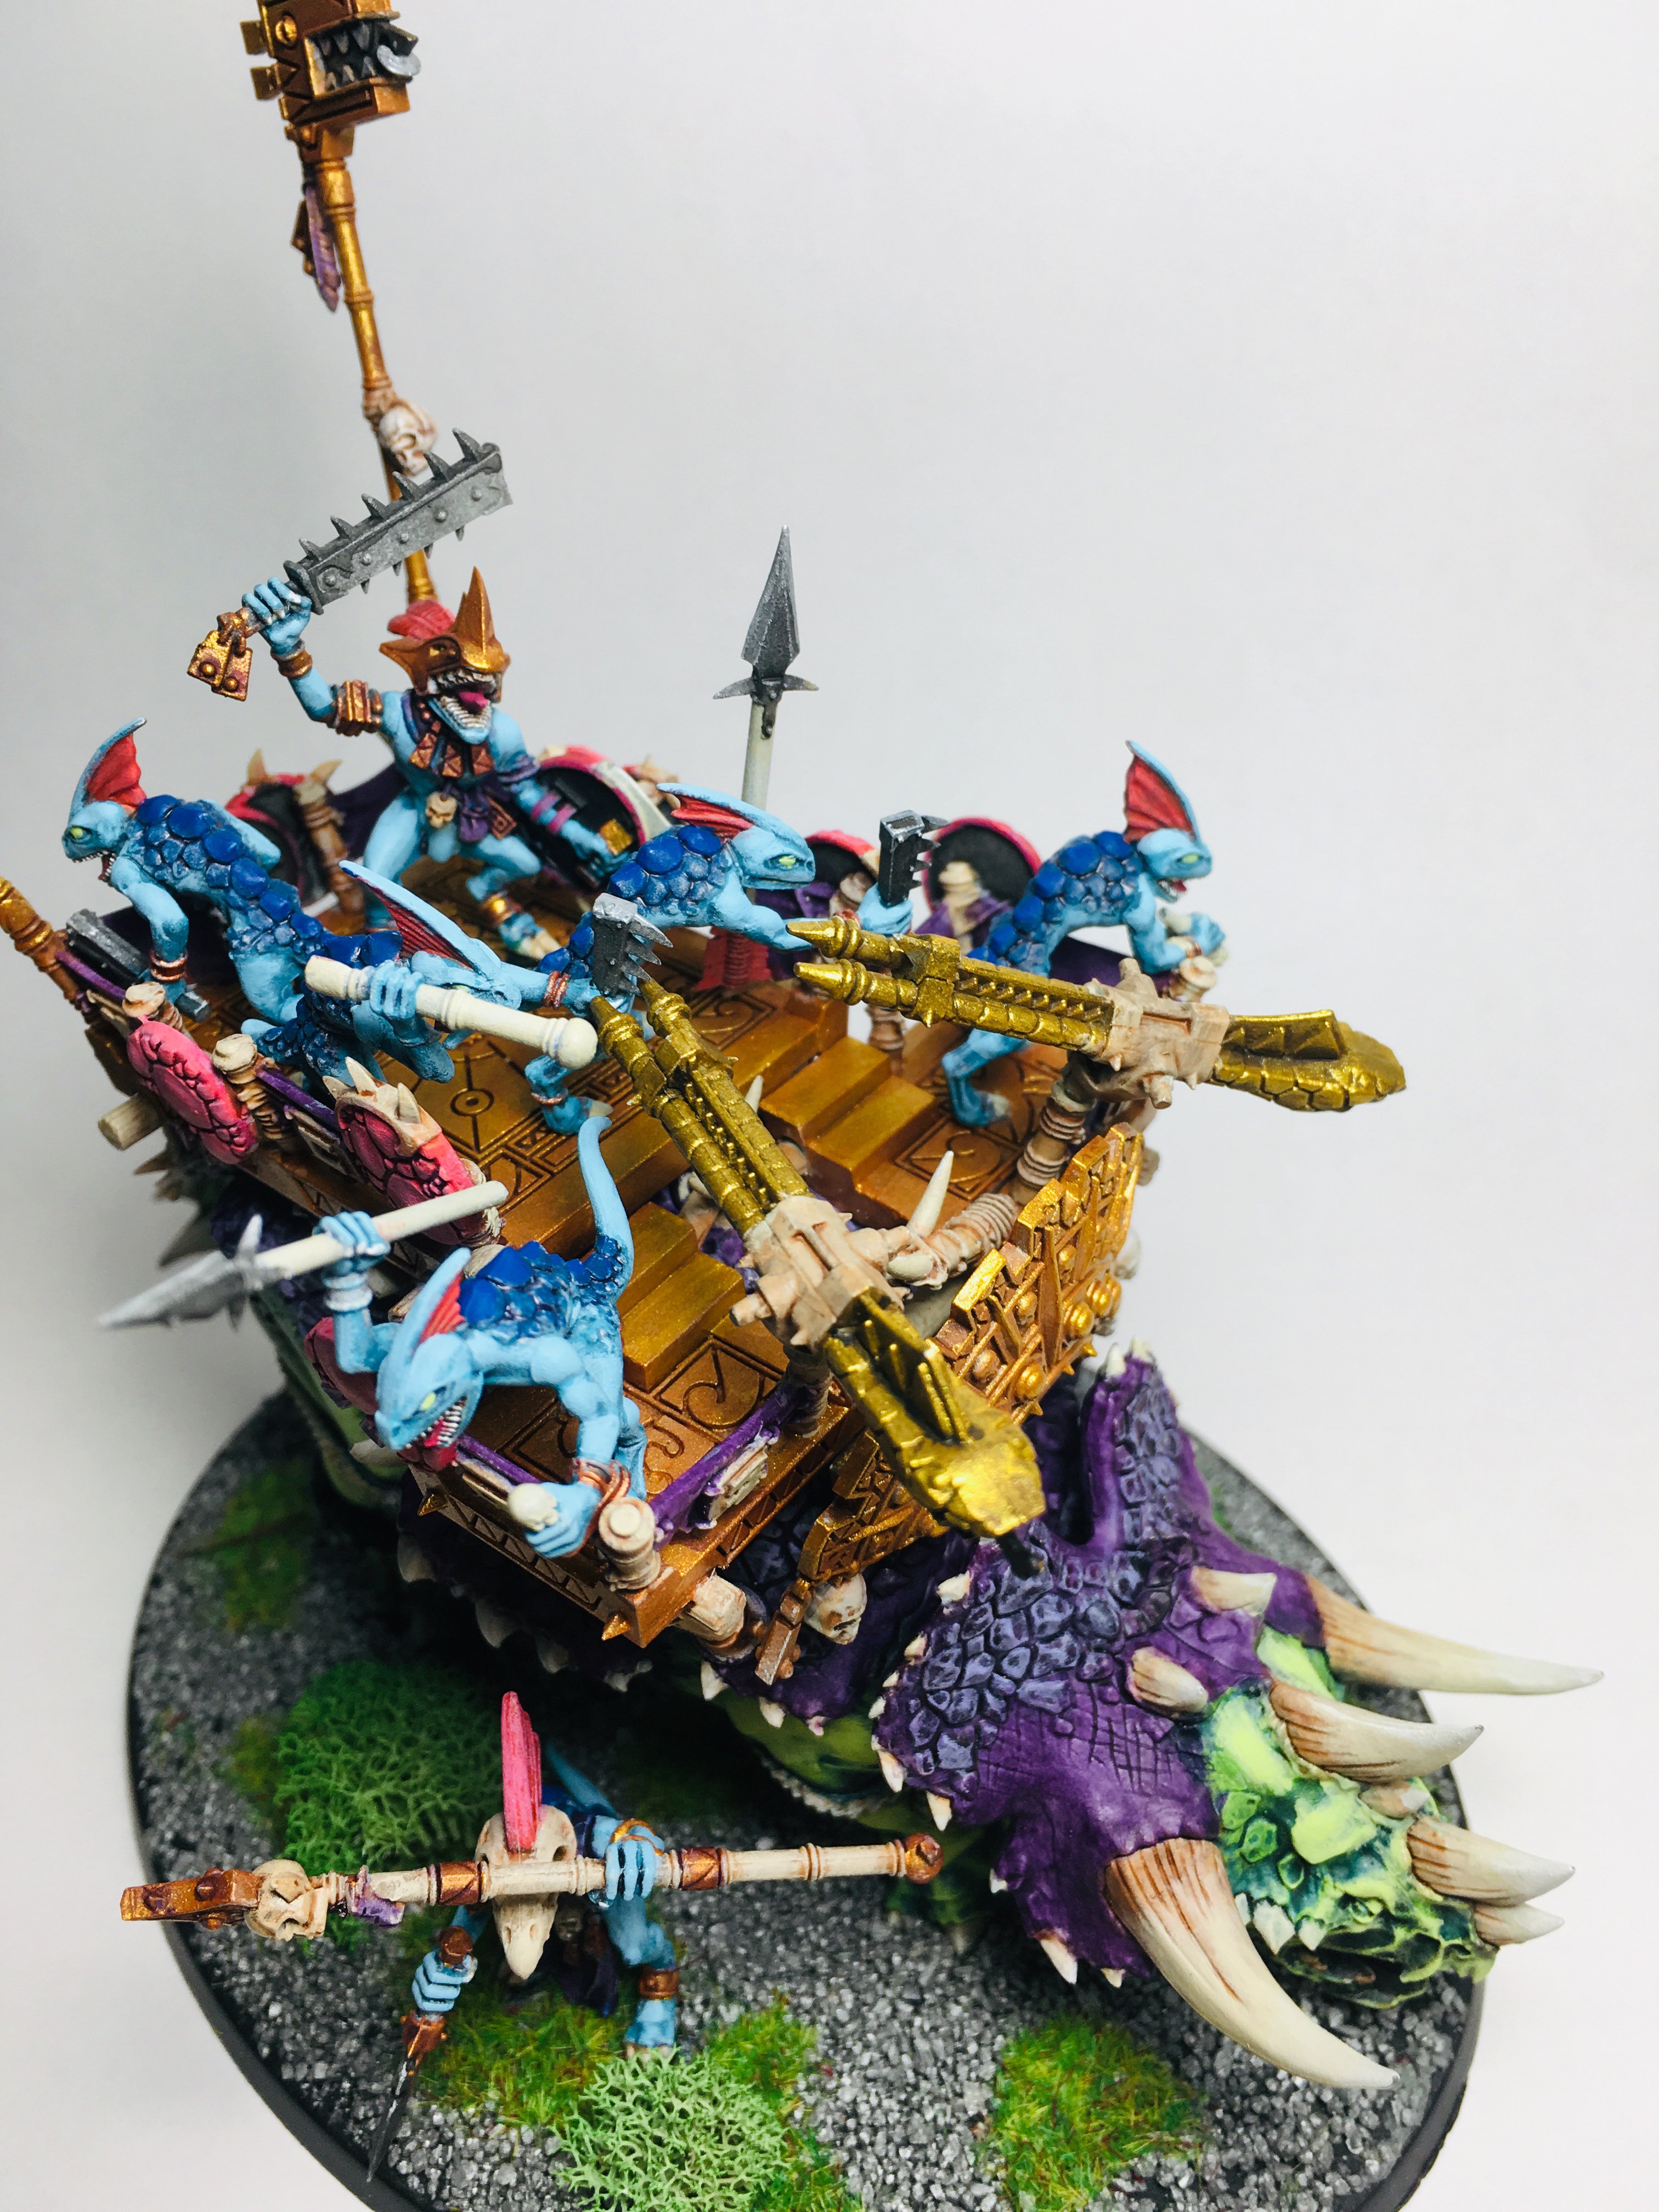
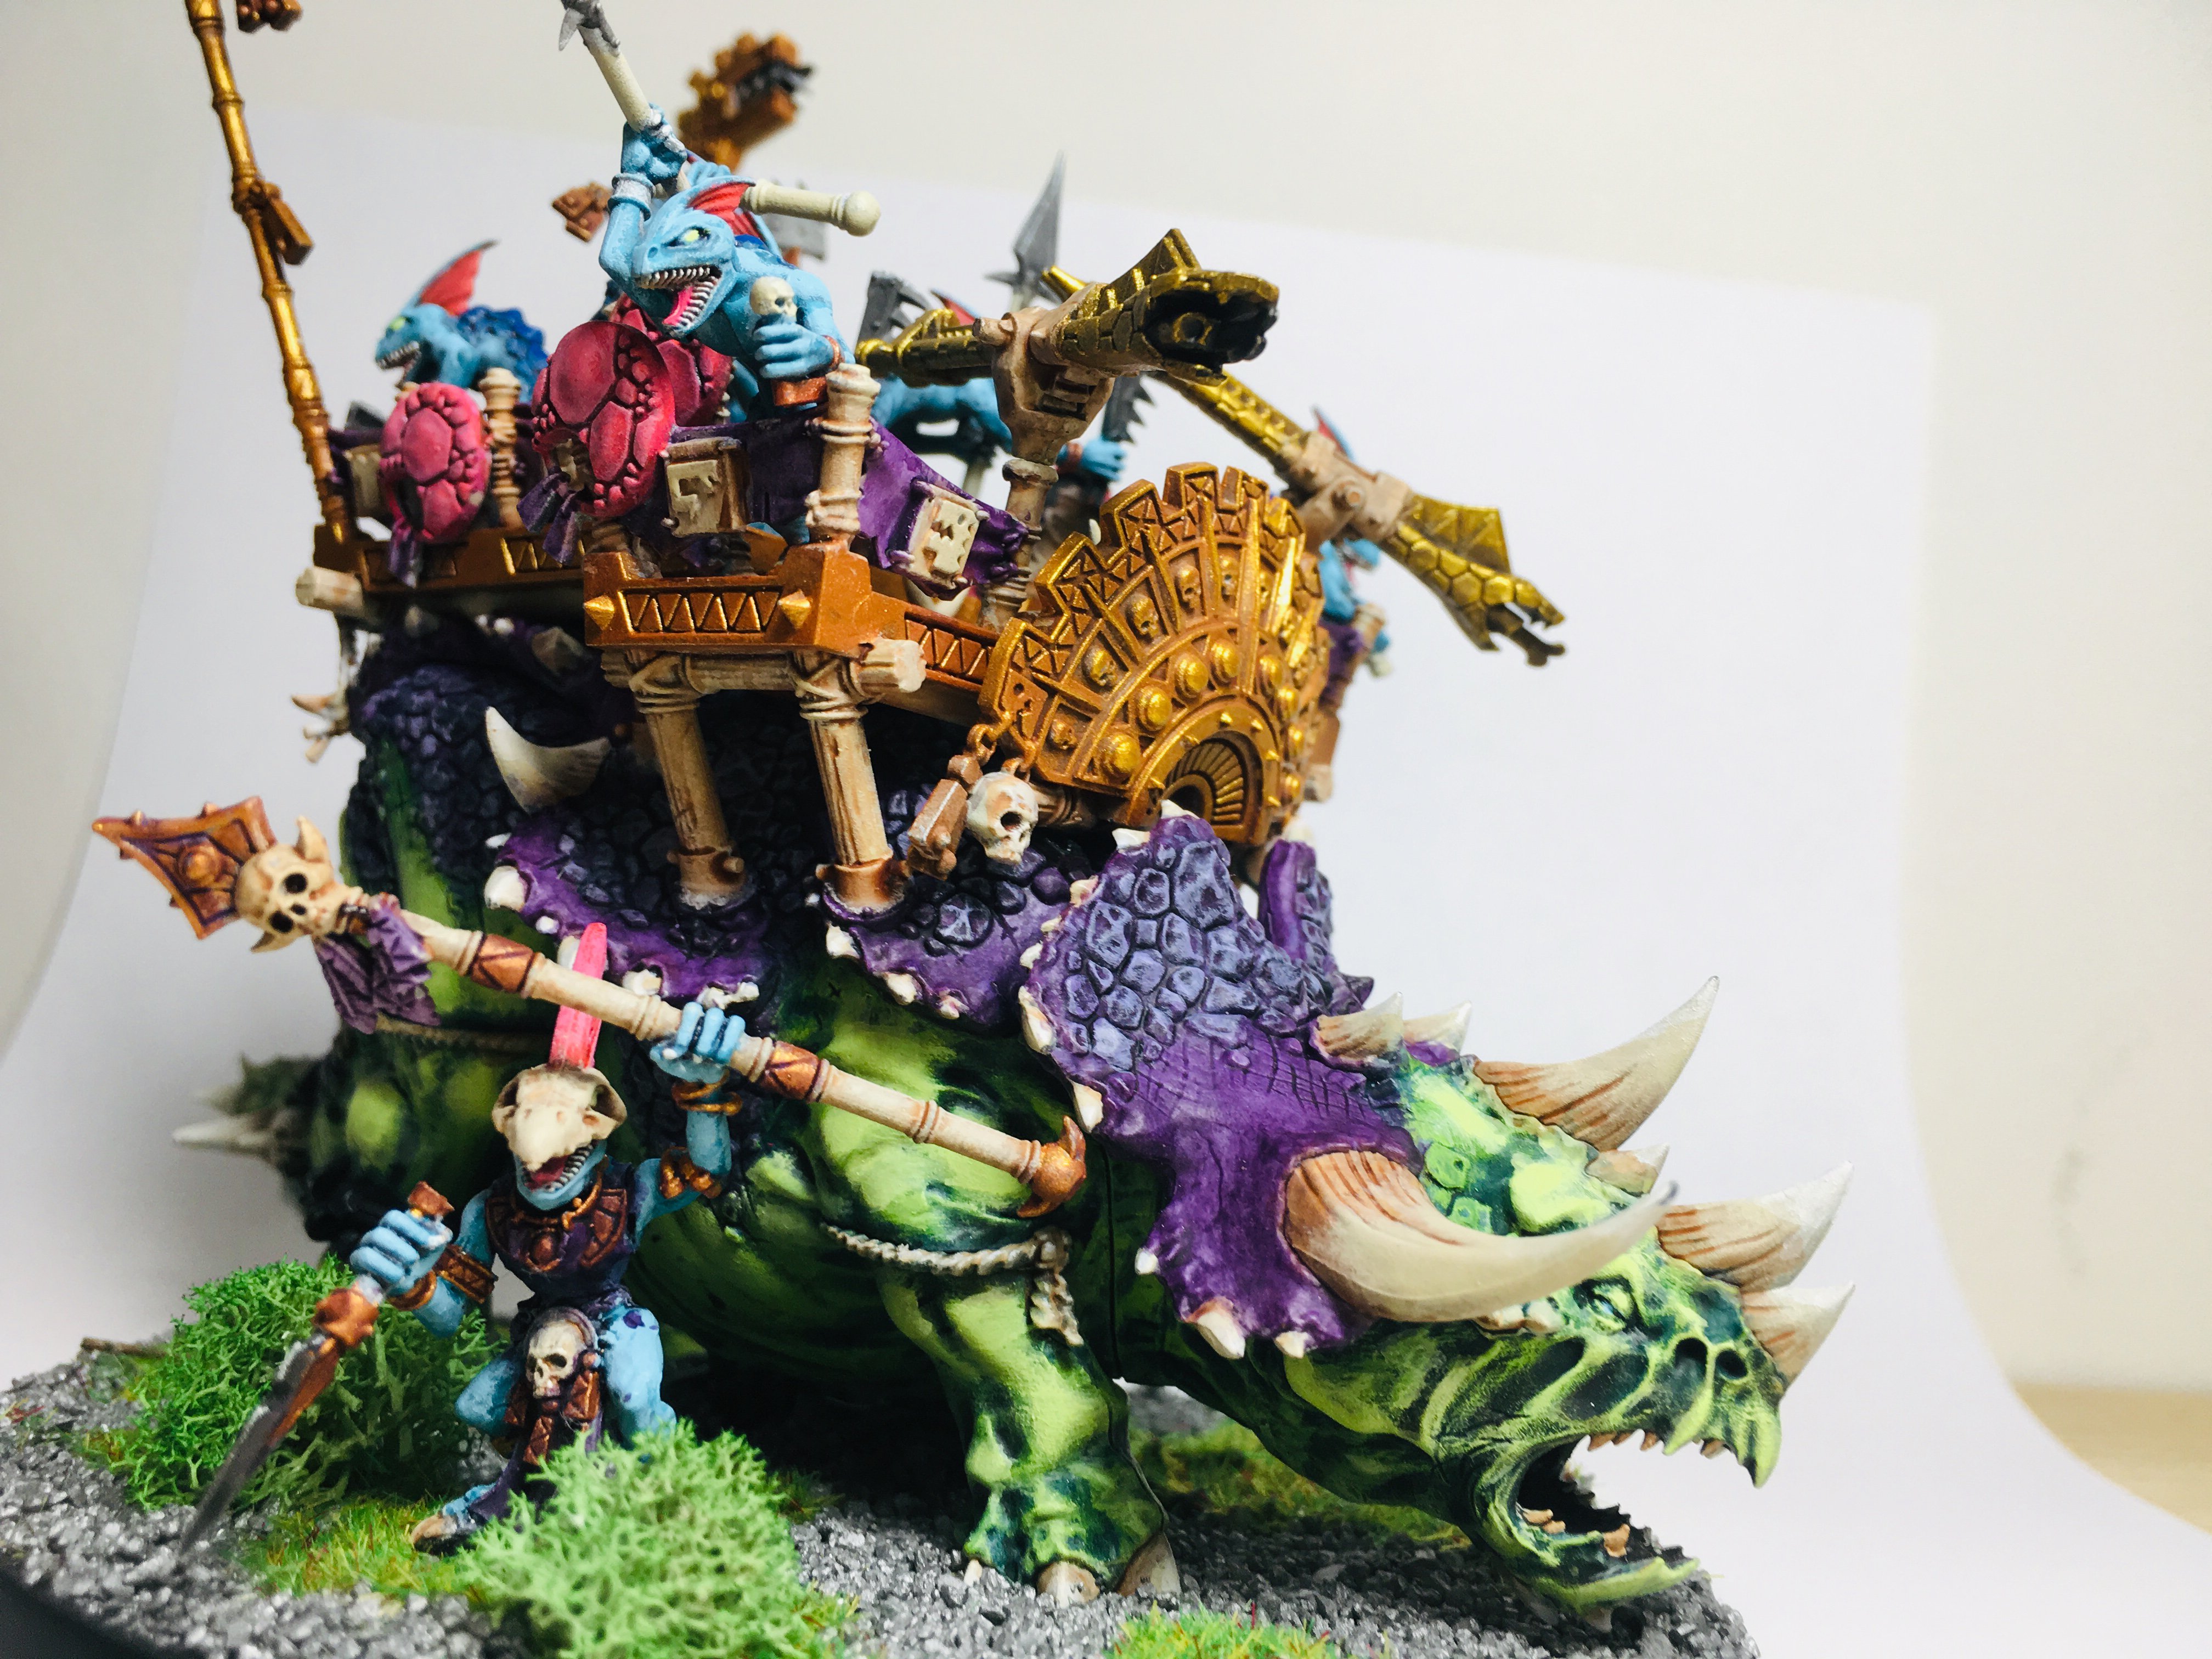
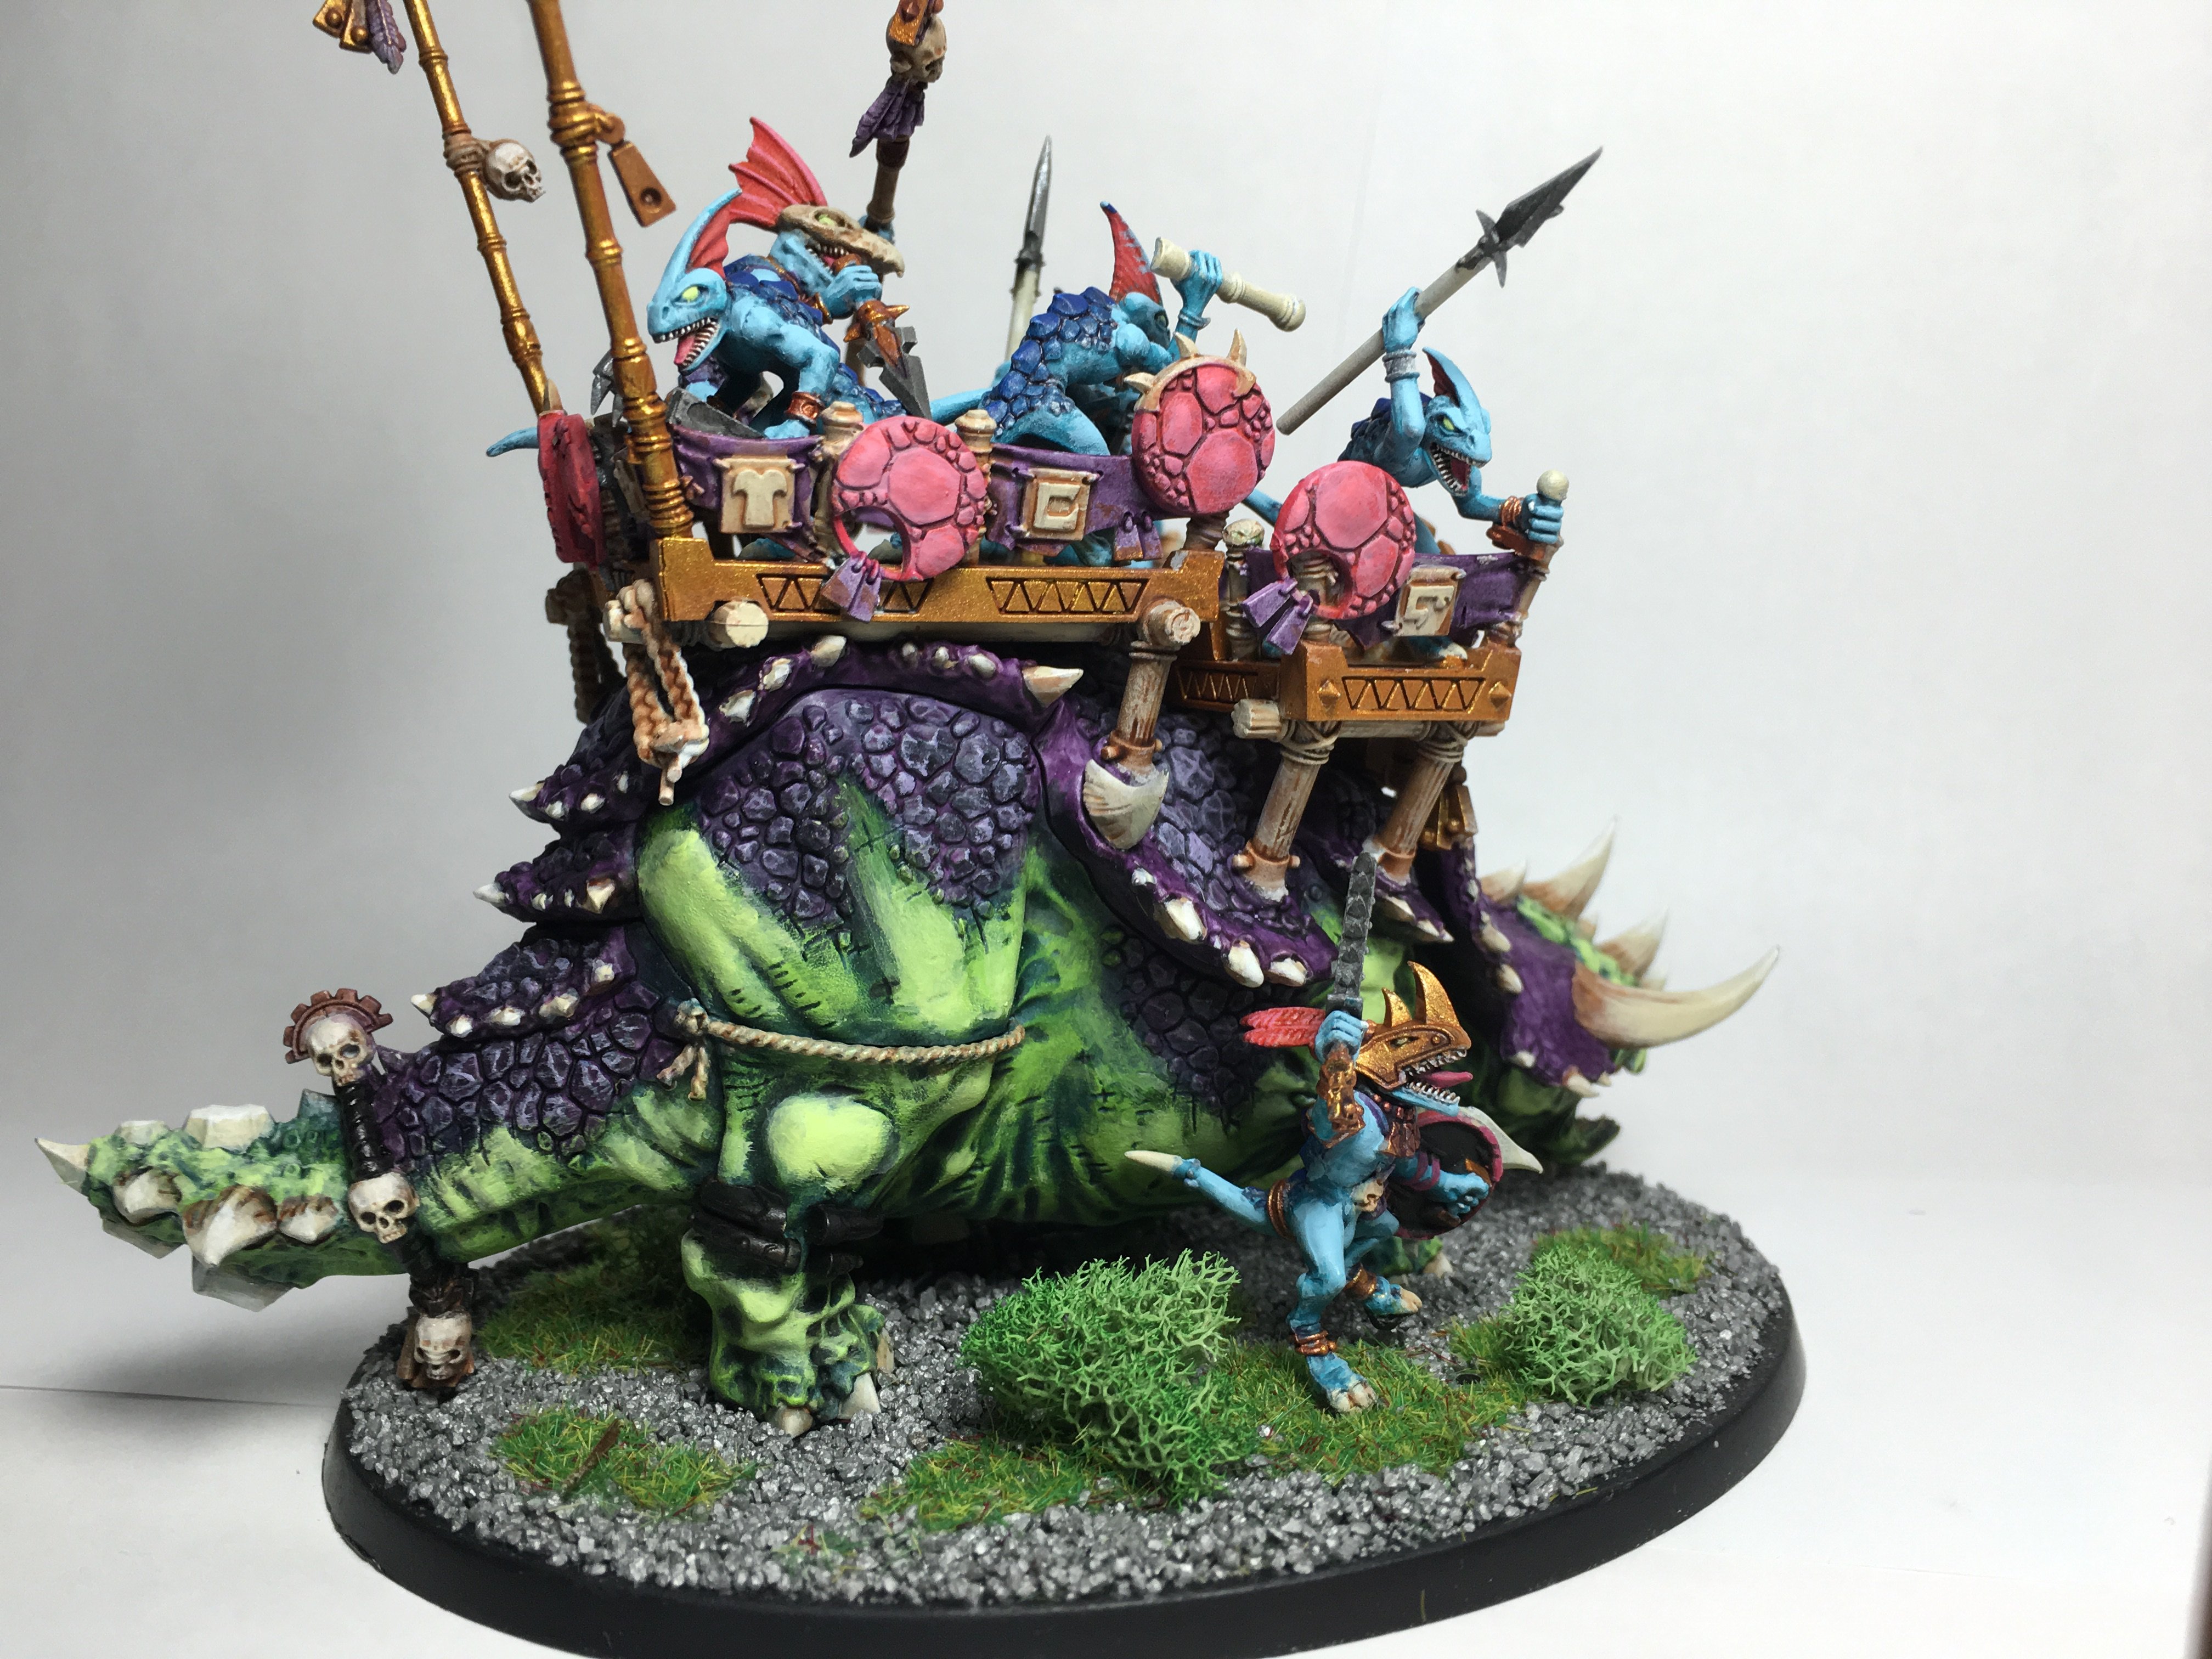
Here are some pictures from the build:

I can’t wait to use this guy in an upcoming battle. Being able to alternate between model types will be awesome for future replayability.
While the model technically is lacking an Engine, I’ve made up for that with lore! You see, the Engine on this particular model broke down many years ago and was discarded. The mighty Skink Priest was so clever and determined to succeed that he managed to channel the spirit of the Engine through himself.
So, the Skink Priest == Engine, on this model. Don’t think too much about it.
Related Posts
Helpful Bash Script - git reset all
22 Sep 2021Get a Pull Request by Number - Bash Function
22 Sep 2021Creating Effective Presentations with stock Apple applications
21 Sep 2021Air Cooling a Buttkicker Gamer 2
27 Feb 2021