Build Log - Digital Picture Frame for my Nana
26 May 2020
This blog post will track my attempt to build my Nana a custom digital frame.

This came about because I’m occasionally on a phone call with Nana and I want to send her a photo to look at - some art I’ve done or something.
Nana does not have a smart phone or email, and she doesn’t care for them anyways.
What I need is a digital frame that I can send pictures to in real time, and runs a slideshow of all images.
I don’t want to log in to some website to upload photos, and I want my family to be able to email or text photos to this digital frame.
I’m going to use a Raspberry Pi, React, AWS, and some elbow grease to get this all running. Let’s get started!
Strategy
While the OS installs, let’s talk about our strategy for the pictures (and videos?)
The overall goal of this project is to provide the following
- A “digital picture frame” for my Nana, which consists of
- A 10” HDMI screen with sufficient resolution to display photographs beautifully
- A Raspberry Pi running the show behind the scenes
- An easy method of sending pictures to the digital frame
- Ideally, an SMS number or an email
- I do not want to require users to log in to any websites or anything like that.
I’ll loosely divide these two goals into the Media Intake and Media Display phases.
Media Intake
What I want to do, in simple terms, is provide an email or SMS number that a casual user can send a photo, multiple photos, or (stretch goal) a video to.
My first thoughts involve AWS SES for the email recieving component, and then a series of Lambda functions that extract attachments from the email file and save them to an S3 bucket.
Media Display
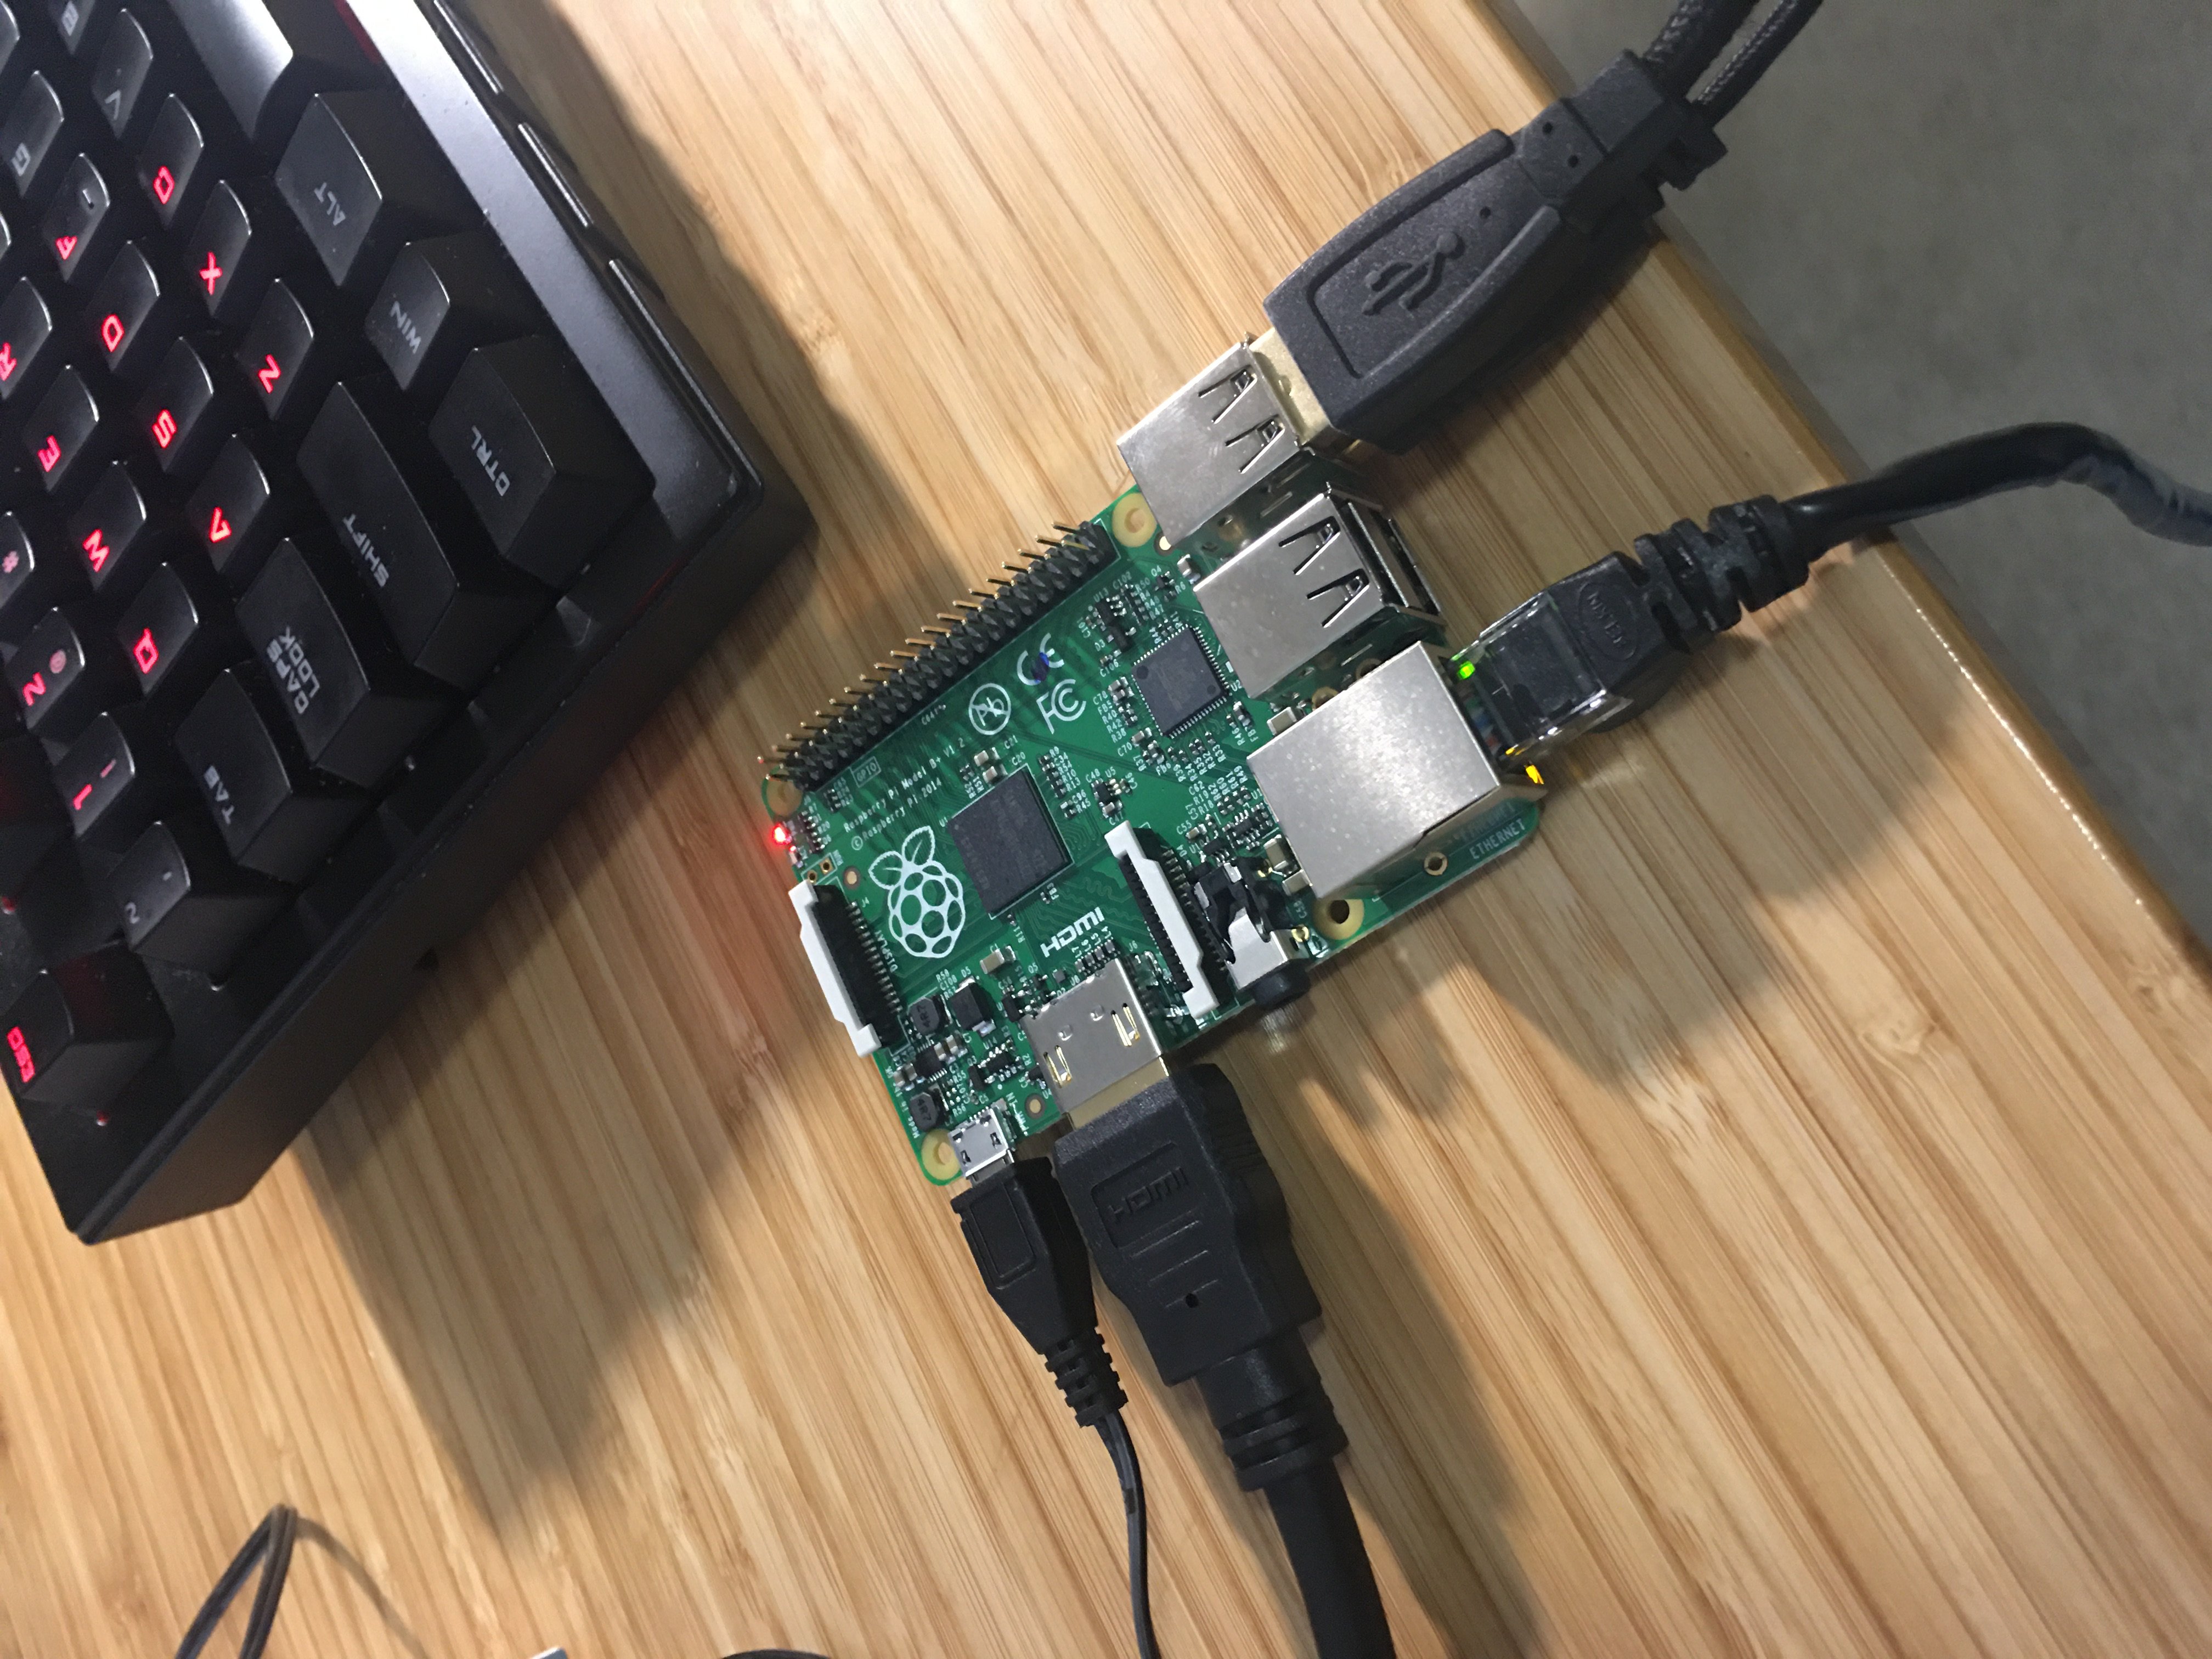
I am pretty poorly skilled with regards to hardware, so I’m really glad that the CanaKit Raspberry Pi is pretty complete out of the box. It supports HDMI, Ethernet, 4 USB ports, and comes with a pre-formatted SD card loaded with multiple OS options.
On the Pi, I think I’ll only need to write a couple scripts.
- One will control a gallery in a web browser
- It will reach out to an S3 bucket and ask for the latest 50 filenames, and then display them.
- No files are stored locally.
- I probably need to write a startup script that opens the browser to the correct page.
- I want my nana to have basically zero interaction with this frame.
- To her, it should just be a digital picture frame.
Looks like NetSurf is installed by default on my Raspian installation, I’ve never used it, but let’s go for it. We can always grab Chromium later if needed.
First stabs
I’m going to upload a few photos to an S3 bucket and set up a quick photo gallery script that points at the bucket.
I’m using this guide as a basis for getting things running, I always forget what order certain permissions/Cognito operations are needed so I’m glad AWS has good docs.
Well, lol, I just decided that I really needed to use Create React App for this. Totally a good use of time.
Alright, a couple hours later and I’ve got a working picture gallery! It’s correctly fetching images from my S3 bucket and displaying them. It needs more visual polish but it’s functional.
Now I need to move on to…
How Are We Going To Get New Photos?
I’m using this guide now to help set up email forwarding. I think I’ll create an email address using a domain I own and then forward it to S3.
Okay, I set up a bunch of IAM Roles and Policies.
I also verified my domain through SES and created a new Rule Set that saves emails to a bucket.
Okay, hours later, I sorta stalled out and reverted to trying to find a serverless example. I did indeed find one that fit my purposes. I’m now modifying it to save each attachment to an S3 bucket.
Oooo… should I also save any associated text in the body to S3 with a matching filename, so that we can caption the picture later on? Probably!
Updates
Well, I started this on Friday, hoping to pull off a one-day project. Unfortunately, I threw my back out Friday afternoon and had to stop all progress. Now, on Monday, I’m tackling this again. What happened in the meantime?
- I messed up my first PI by doing… something (I don’t know what I did). But now it won’t boot. I’m working on figuring that out.
- My backup ancient Pi also doesn’t work?
- I think the problem may be my SD card, but I didn’t have a micro-SD card reader with which to reflash.
- I went through a lot of issues with Lambda and my own general incompetence when working with AWS.
- I improved the front end UI.
- I successfully set up the email pipeline and had family text photos to the email address I had set up, and it worked!
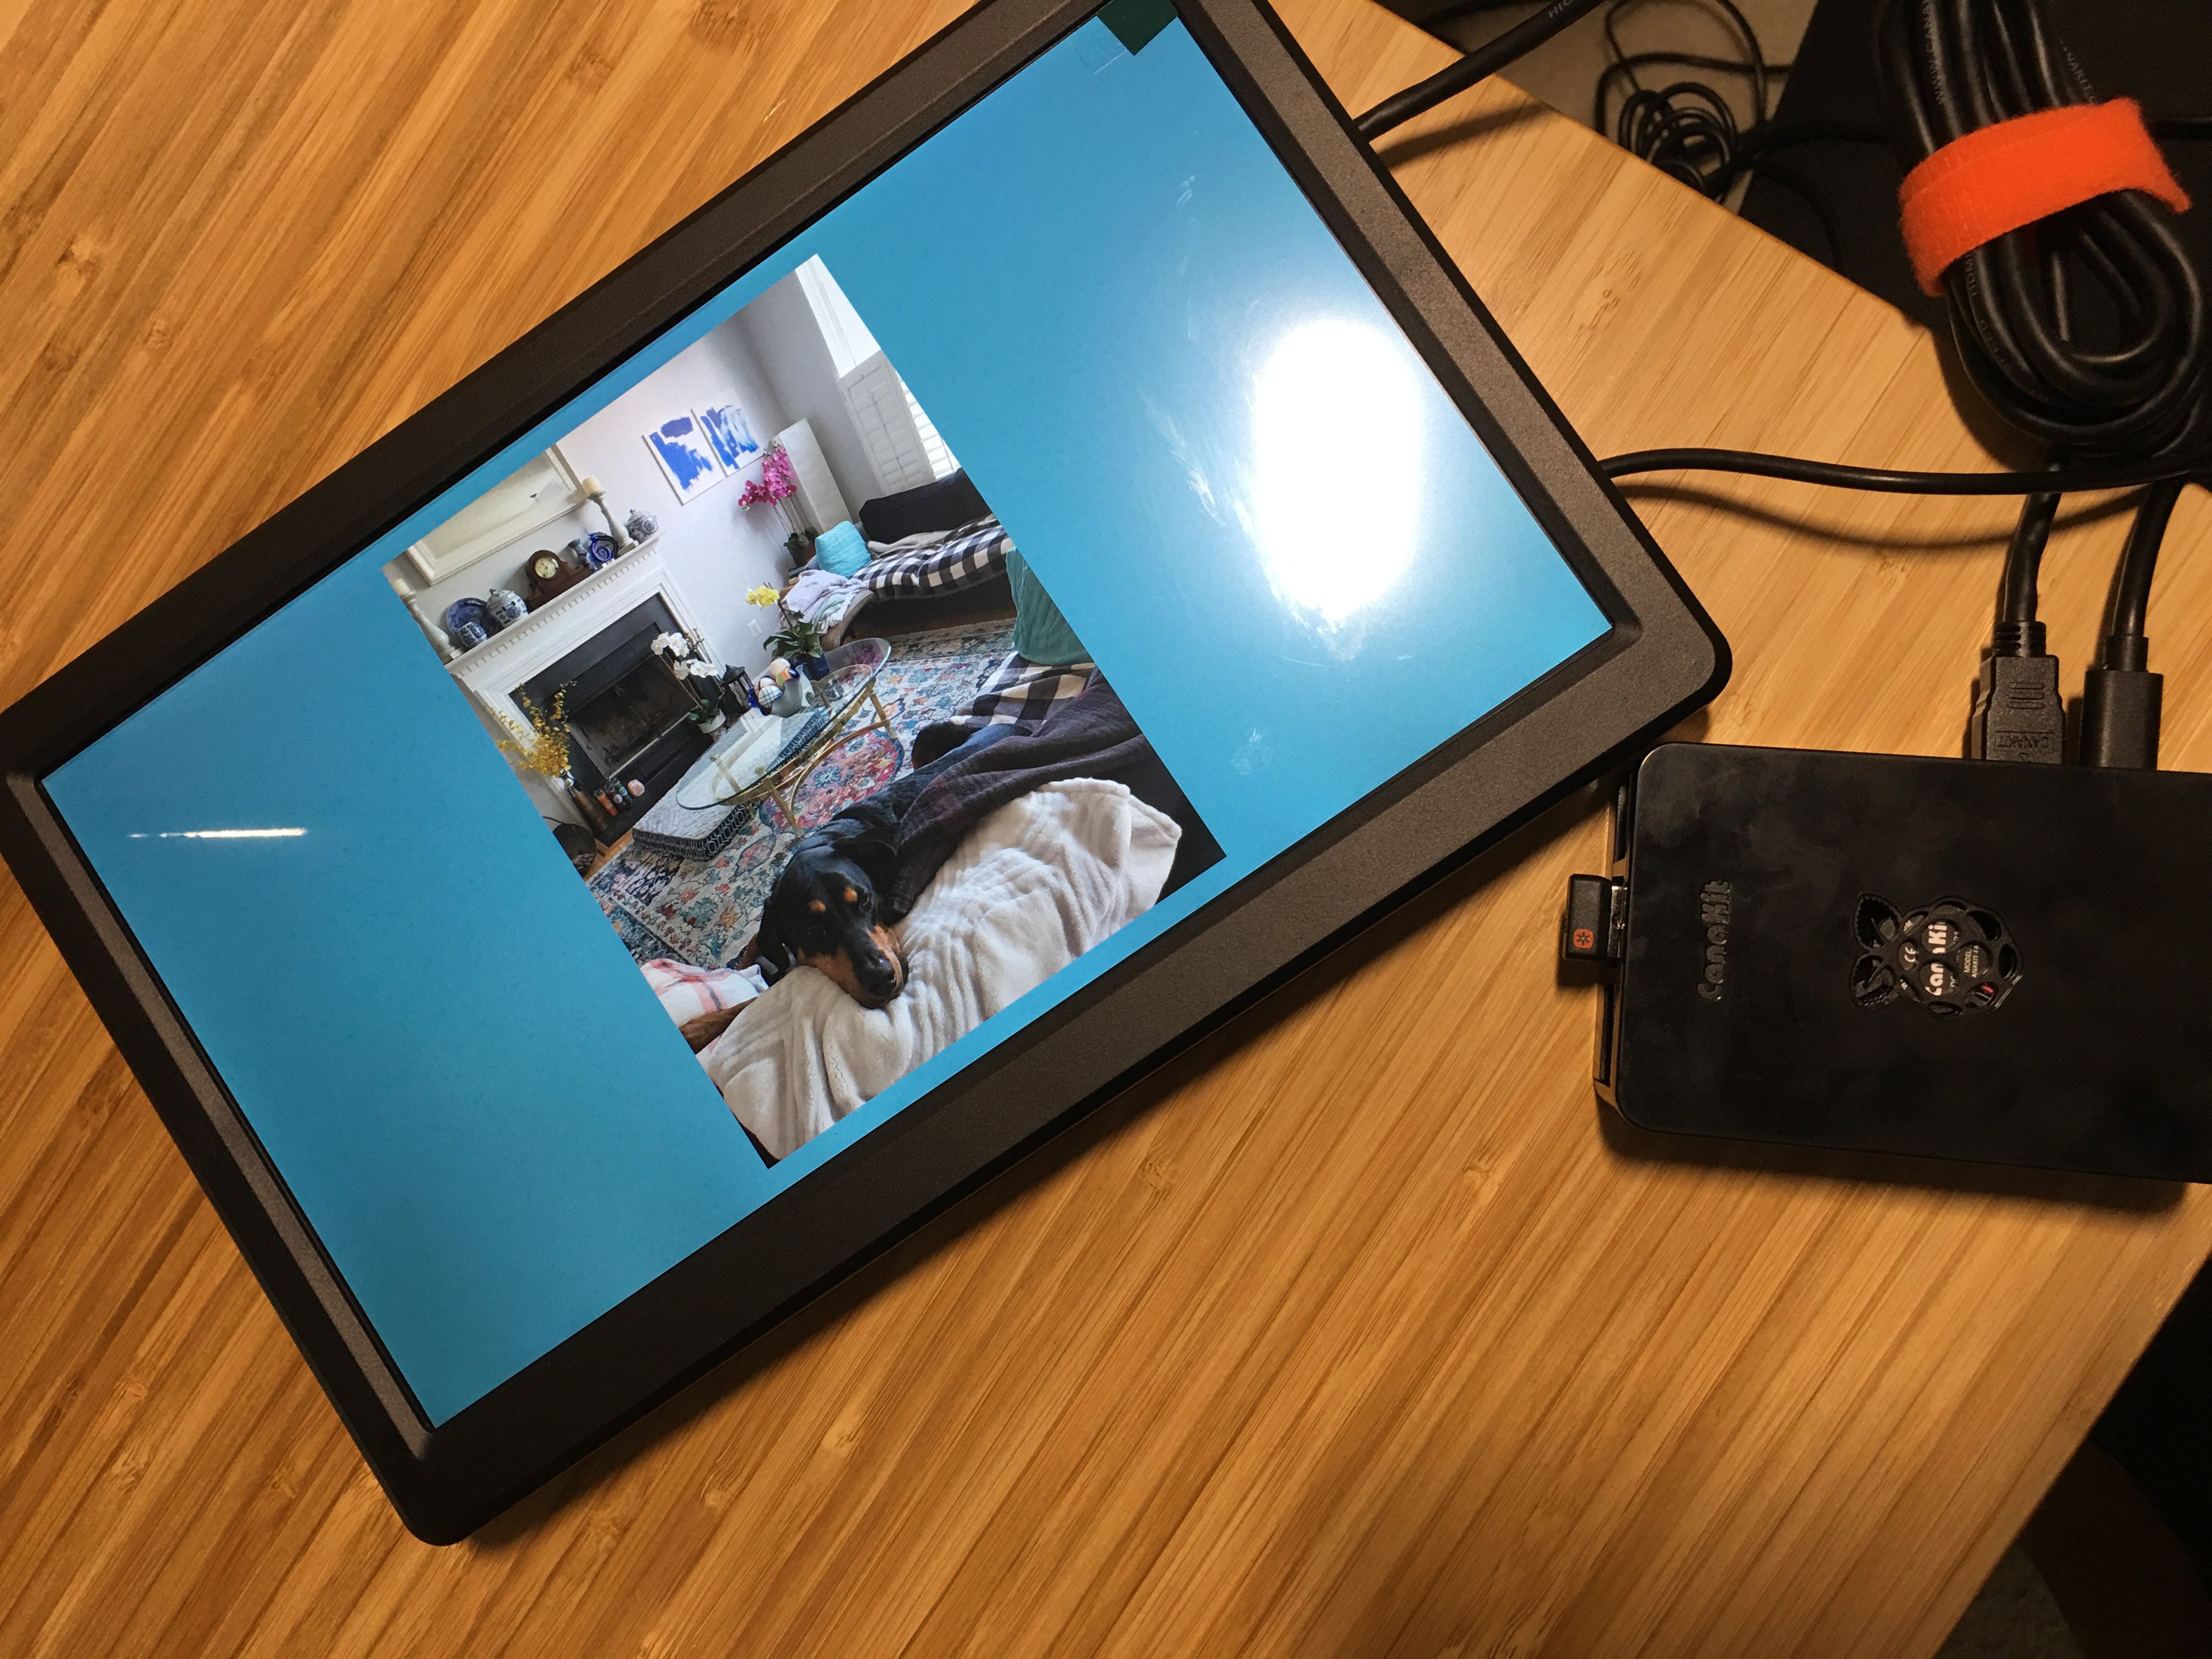
I ordered a 10” monitor and a new Raspberry Pi 4 (4GB RAM) and started over.
For some reason, my keyboard won’t work with the Pi 4. It’s got LED’s and stuff so I’m assuming it’s too big of a power draw? I don’t know.
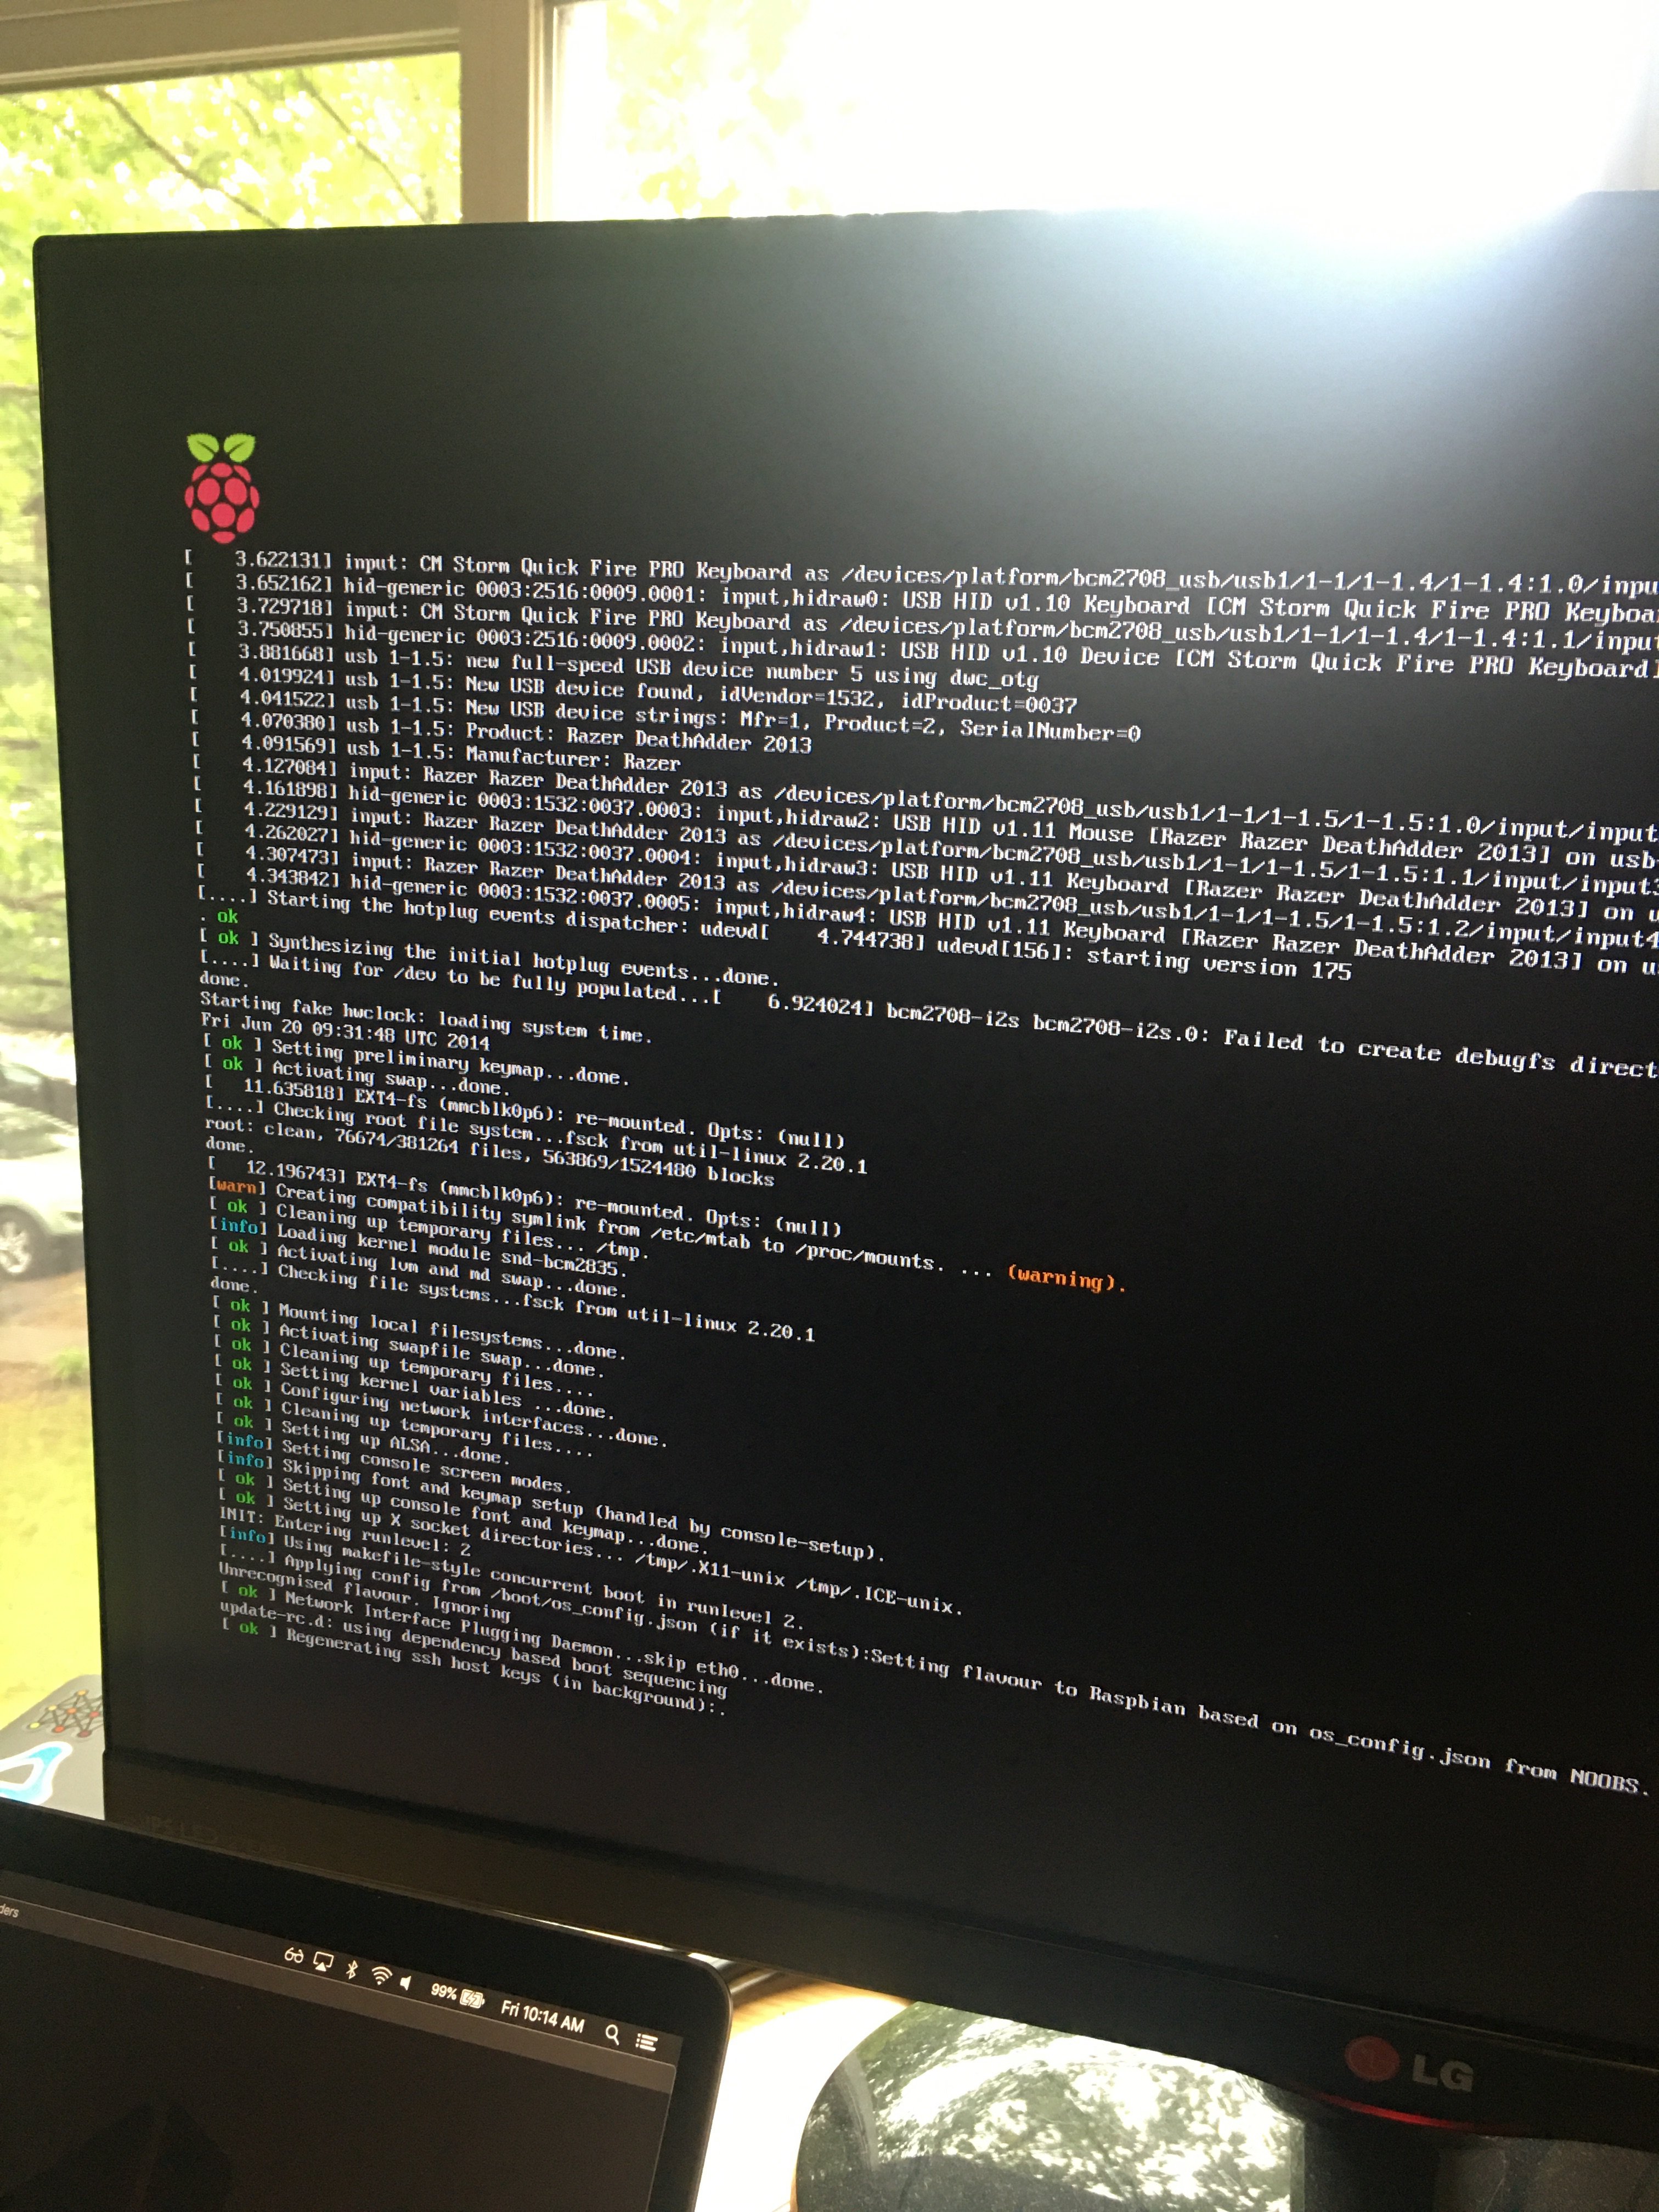
I get through installation with just my mouse, and then.. I want to SSH into my Pi to set it up. How do I get the IP of the Pi without a keyboard? Well, let’s just open the router and look at connected devices.
Hacker voice: I’m in
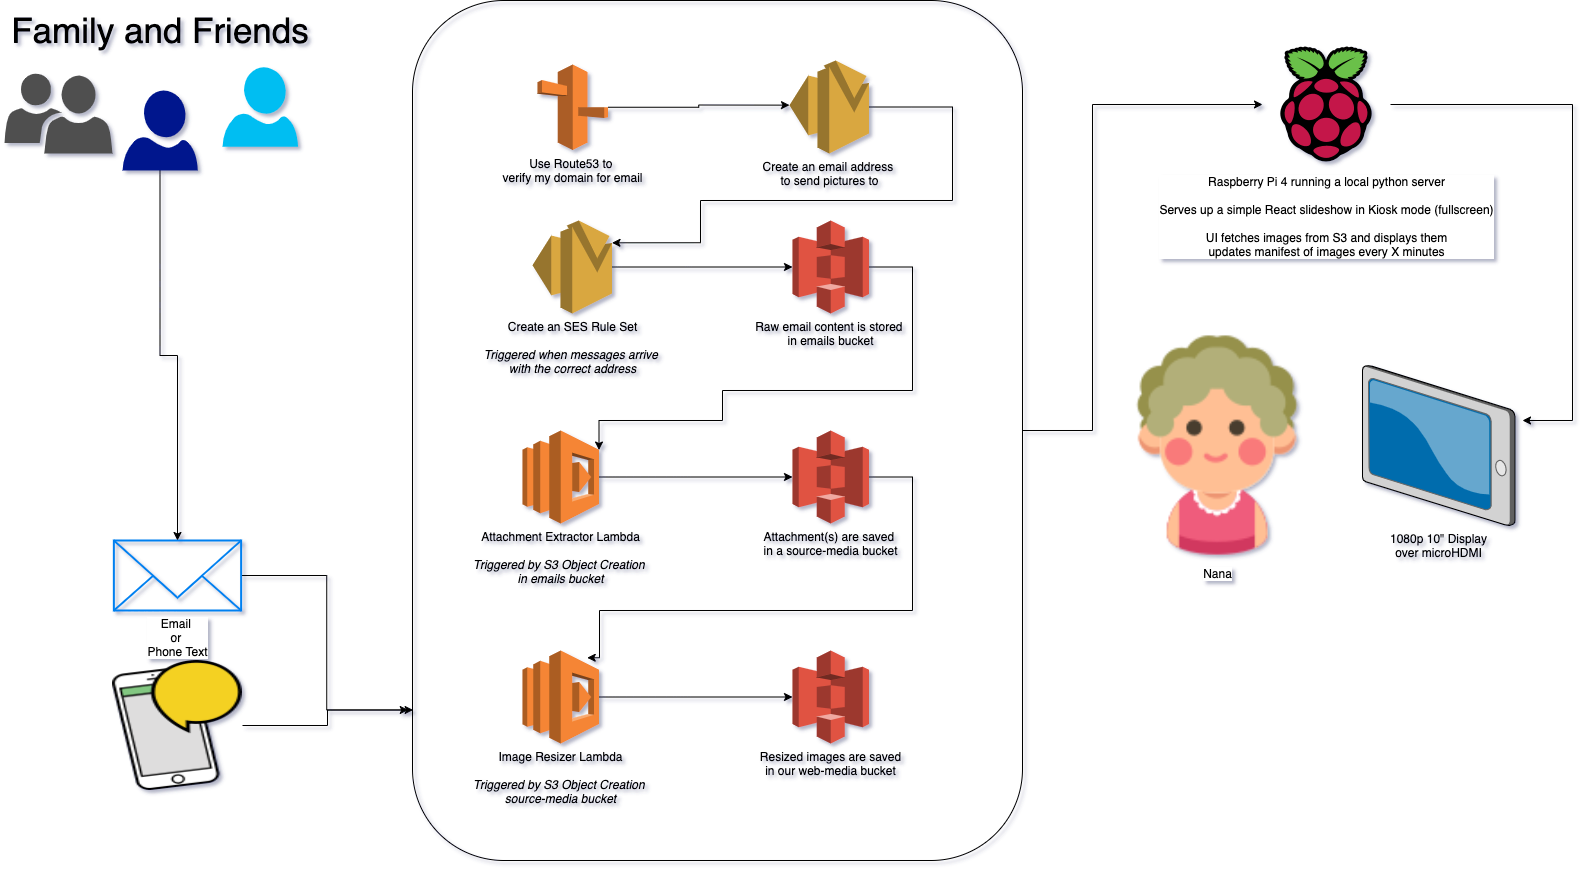
Data Flow
I’ve made a simple flow chart showing the final flow of data.
Tuesday Morning update
Captions are a no-go
I briefly (for about 5 hours) experimented with adding captions and image metadata. I decided against it - due to added complexity and also… I don’t know, people can use Instagram captions if they really care, there are too many issues to cover.
For example…
- If an email recieves a text from a text chain, the “From” field is
[phone number]@vwzpics.com(or something like that)- So I would need a personalized address book of numbers to make that relevant to my Nana, who certainly does not have everyone’s cell phone number committed to memory.
- When an email arrives with a signature, that is displayed and is really annoying.
- Integrating all of the information into the UI without cluttering the screen is tough.
- I would need to educate users that: If you send an email, the body of your email will become the caption on the digital frame - oh but if you send a text, you can’t include a caption.
- Nightmare. No.
Videos are also a no-go (for now)
A generic video sent by text is in the .3gp format. A quick glance shows me that 3gp formats are not fully supported everywhere. So we’re going to ignore videos and move on.
UI Details
- Create React App w/ Typescript (duh!)
- No state management (no Redux or even Context)
- Using the
react-awesome-sliderlibrary.- A very nice library that could really use a refactor into hooks. It’s tough to extend. But it works!
I keep messing up my Pi’s
I managed to brick my new Raspberry Pi already (LOL). Well, it’s not fully bricked, but I need to run it in recovery mode… which requires a keyboard that I don’t have. I ordered one from Best Buy and will pick it up later today.
I am bricking Pi’s at a terrific rate, I’m really learning what not to do! If you have a functioning Raspberry Pi and you want it to not run anymore, send it to my house, I’ll take care of it.
Next steps
Once I get my Pi running again, I think I need to focus on making this reliable.
When the Pi reboots, it needs to automatically start the UI in kiosk mode again without user intervention.
I also need to make sure a casual user can plug this in, set the WiFi settings, and they’re done. My mom will be installing this since she’s the only one allowed in the retirement home (and even then only every two weeks). If any part of this goes down, my Nana will be stuck with a broken monitor that doesn’t display anything - for up to two weeks.
Tuesday Night
Okay, it’s reliable and working!
crontab and autostart scripts are written automatically.
kiosk.sh is called after booting into the desktop and starting a python server locally.
git pull is called every hour in case I push updates out.
I fixed the screen tearing issue which had been causing me major problems!
Transitions between photos are now smooth as butter. Love it!

It’s pretty much ready for drop-off and testing. I just need to run it for a couple hours to test it.
First test - success!
I took the whole kit over to my parent’s house and set it up there. My mom is going to be responsible for setting this up in my Nana’s condo, so it was important to get her familiar with how the hardware and software worked. Luckily, all that’s really needed is for the Pi to be logged into the WiFi network once. After that, it should be bulletproof.

Will report back when it’s installed!
Installation - success!
My mom took the Pi + display over to my Nana’s retirement home and set it up.
This was no small task - unfortunately, they use a captive login method of logging in to WiFi (like logging into a hotel, you have to open a browser and enter a username/password).
In order to get on the facility’s network proper, my poor mom had to grab the MAC address of the Pi and give it to IT support. We then had to wait 20 minutes for the changes to propagate.
In the end, it was definitely worth it - hearing my Nana ooh and ahhh over the phone made this whole project worth it.
We’ve sent out an email to the family on how to send pictures to the Pi.
Next up - I’m going to write a more coherent how-to article for anyone looking to do a similar project. I’m also going to clean up and condense all of my code. Stay tuned!
Related Posts
Helpful Bash Script - git reset all
22 Sep 2021Get a Pull Request by Number - Bash Function
22 Sep 2021Creating Effective Presentations with stock Apple applications
21 Sep 2021Air Cooling a Buttkicker Gamer 2
27 Feb 2021